When to Harvest Luffa Gourds for Eating
Luffa gourds are cucumber shaped gourds that also are known as Chinese okra. If you are growing your gourds, you will want to allow enough of them to mature to use as sponges. However, if you want to try eating some of them, you should harvest them while the skin is still green and the gourds are 6-inches long.
When to Harvest Lagenaria Gourds for Eating
Lagenaria or hard shell gourds include bottle gourds and a light green, longer, slender version of the bottle gourd called the Italian edible gourd, cucuzzi, or Serpente de Sicilia. If you are harvesting bottle gourds for eating, you should pick them when they are 5-inches long. You can let the Italian edible gourd grow to 6-inches long.
Preparing Gourds for Cooking
First, wash the gourds to remove any dirt or debris, and then follow these steps to prepare your gourds for use in recipes:
- The skin is bitter, so remove it completely with a vegetable peeler or paring knife.
- After you remove the skin, cut the gourd in half and remove the seed-filled, spongy area at the center.
- You can then either cut the gourd into thin slices or small, 1-inch cubes, depending on how you want to use it.
- Prepare the slices or cubes for use by placing them in boiling water for 15 to 20 minutes until they feel tender when pierced by a fork.
Use the gourds as you would zucchini as they have a similar flavor.
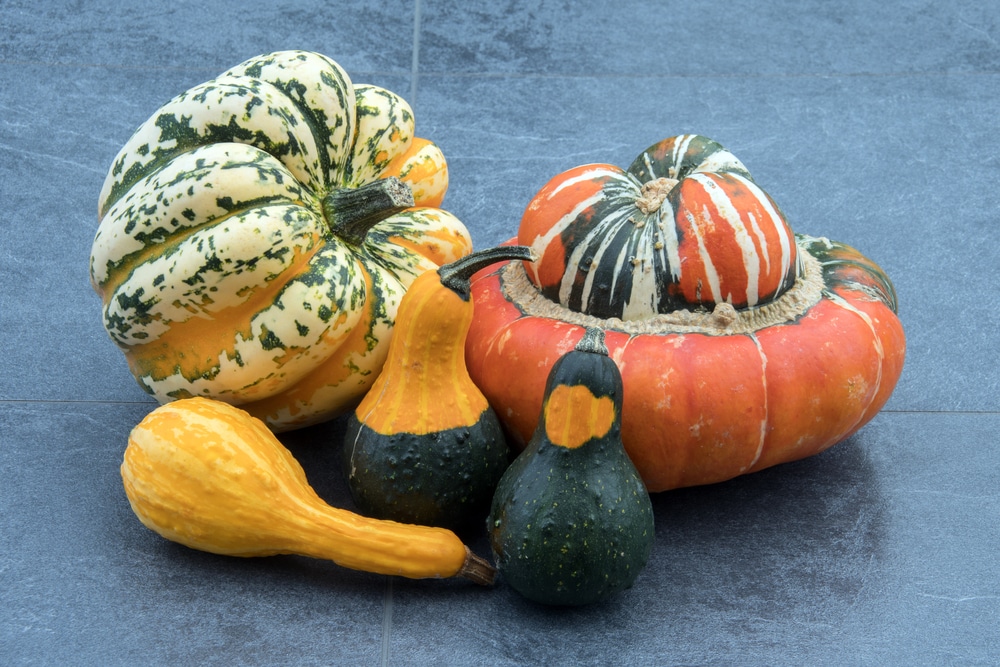
When to Harvest Gourds for Crafting or Decorative Uses
You should allow any gourd that you plan to use for decorating or crafts to fully ripen on the vine. Harvesting gourds that you intend to use for crafts or decorating too early makes them more susceptible to rot during the drying or curing process.
The best way to tell whether or not your gourds have ripened fully is to check the stem. If the stem is drying out, turning brown, and shriveling up, then the gourd has fully ripened and is not receiving any further nutrients from the vine.
Testing the thickness and hardness of the shell of hard shell gourds by attempting to cut into the gourd with your thumbnail can cause the gourd to rot. So this test of ripeness is not recommended.
Harvesting and Curing Luffa Gourds
Wait to harvest Luffa gourds until they have become lightweight on the vine and you can hear the seeds rattling inside the gourds when you shake them. Use scissors or a sharp knife to cut the stem leaving about an inch of stem attached to the gourd.
Wash the gourds in warm soapy water, rinse them, and dry them.
Cut off the top of the gourd, and shake it while it is upside down to remove the seeds.
Remove the skin. It should come off easily, but if it doesn’t, soak the gourd in warm water until the skin softens enough to remove it.
Brighten the sponges to a creamy white by soaking them in a solution of one part bleach to nine parts water, and then rinse the sponges thoroughly with clear water and dry them before using them.
Harvesting Your Ornamental and Lagenaria Gourds
Twisting the stem or pulling the gourd from the vine can damage it and promote rotting. Instead, use scissors or a sharp knife to cut the stem, leaving at least an inch of the stem on the gourd. If you leave a longer length of stem, you can use it to hang the gourd while it cures. Hanging your gourds eliminates the need to turn them to ensure even drying.
Curing Your Lagenaria and Ornamental Gourds
The curing process requires two steps, drying and hardening the exterior of the gourd and then drying the interior. Drying the interior takes longer than drying the interior, and the larger the gourd, the longer the entire process takes.
Begin by washing the gourds with soapy water and then rinsing them with water or a mild solution of nine parts water and one part household disinfectant or bleach to discourage mold. Dry the gourd with a soft cloth. Avoid bruising the gourds or scratching or scraping the skin.
To dry the exterior, you can hang the gourds or spread them out on a layer of newspapers in a warm, dry place. If you lay the gourds on newspapers, separate them so that air can flow between them and change the newspaper whenever it becomes damp.
You can use a fan to speed up the process of drying the exterior. Gourds that begin to shrivel up or that develop soft spots should be discarded. This first phase should take about a week for smaller gourds.
Drying the interior takes about a month for smaller gourds and up to six months for pumpkins and larger gourds.
To dry the interior, wipe or spray your gourds with rubbing alcohol or household disinfectant, and move them to a warm, dark, dry space. Hang them or spread them on newspapers leaving room for air to flow between them. If you spread your gourds out on newspaper, continue turning them daily. Use a towel soaked in a solution of nine parts water to one part bleach to remove any mold.
When your gourds have completed curing, when you pick them up, they will feel lighter and the seeds will rattle around inside the gourd when you shake them.
For a natural look, use the gourds as they are or apply a varnish with a matte finish. Apply varnish, shellac, or furniture polish to add a protective layer and a shiny look.