When to Harvest Your Gourds
For the first sign that your gourds are ready for harvesting, watch the stems. When the seeds have ripened, they no longer need nutrition from the vine, so the stems will begin turn brown and shrivel up.

Wait until you see the stems starting to dry out to harvest your gourds, though. Harvesting your gourds too soon leaves them more susceptible to rotting. You will need to harvest your gourds before the first hard frost, however.
How to Harvest Your Gourds Without Bruising Them
When harvesting your gourds, it’s important to avoid bruising or damaging them as that will ruin how they look and shorten the time you can keep them. It might even make it impossible to preserve them.
For those reasons, you should avoid checking the firmness of the gourd by pressing into it with your fingers. Also, avoid pressing a fingernail into the shell to test its hardness and thickness. Bruising, denting, or puncturing the shell creates an opening for insects and bacteria to enter the gourd and spoil it.
Use shears or a sharp knife to cut the stem about 2 inches from the gourd so that you don’t bruise the gourds by trying to remove them from the stem or trying to remove the stem from the gourd. Leaving the stems attached helps with drying the gourds for preservation because the stems draw moisture up out of the gourds.
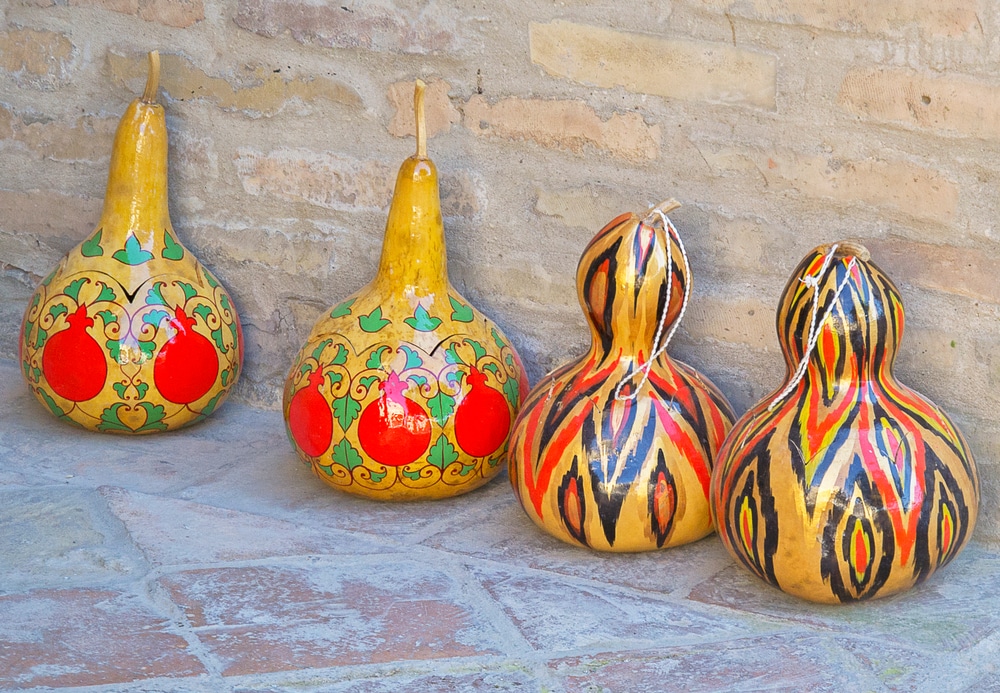
As you allow the stems and gourds to dry for preservation, some of the stems may fall off at some point, that’s fine. If any stay on, though, it makes your display more realistic and adds another texture.
Cleaning Your Gourds Before Preserving Them
Before you begin the drying process, remove soil and soil-borne bacteria by washing your gourds in warm, soapy water and then rinsing them in a bath of household disinfectant or bleach diluted with water.
After cleaning your gourds, dry them thoroughly with a soft cloth or towel. Avoid bruising the gourds or scratching the surface of the shells.
Step One of the Two Step Drying and Preservation Process
The first step in preserving your gourds, or your pumpkins, is to remove the moisture contained near the surface of the shell.

- Select a warm, dry space where the gourds can remain for about a week.
- Spread out several layers of newspapers, and place the gourds on the newspaper.
- Allow air to flow between the gourds by separating them so that no two are touching. Allowing air to flow between the gourds speeds drying.
- Turn the gourds once each day so that all parts of each gourd are exposed to the drying air.
- Whenever any of the newspaper becomes wet, replace it with dry sheets.
- You can place the gourds under a fan to speed the surface drying process.
- Discard any gourd that either begins to develop soft spots or shrivel.
This first phase of drying the gourds by removing the surface moisture sets the surface color of your gourds and hardens their shells.
Step Two of the Two Step Drying and Preserving Process
The second phase of the drying and preservation process dries the interior of your gourds and requires three to four weeks for smaller gourds. For larger gourds and pumpkins, this process can require up to six months, which means you won’t be able to use the ones you grew this year until next year.
- Select a dark, warm, dry space such as a closet, attic, or warm basement.
- Wipe or spray your gourds with household disinfectant or rubbing alcohol.
- Spread your gourds out on layers of newspapers, allowing air to flow between them.
- Turn the gourds daily.
- If you notice mold developing, try wiping it off with a towel soaked in a solution of bleach and water.
- Allow smaller gourds to dry for three to four weeks. Pumpkins need six months of drying time.
- When your gourds have finished drying, they will feel lighter when you pick them up, and when you shake them, you will hear the seeds rattle.
Keeping your gourds in a dark place during this final preservation stage helps to prevent their colors from fading. The warm air aids in the drying process while also helping to prevent any diseases from developing.
While coating your gourds with furniture wax, shellac, or paste wax seals them and adds a protective coating, it also adds a glossy shine that you may not like. If you prefer a more natural look, you can try sealing your gourds with a semi-gloss or matte finish varnish.
If you want to be able to feel the natural texture as well as see the natural look of the gourds, you can use them without any type of sealant. They are simply less protected.
If you cut designs into your gourd or use a heated tool like a wood burning tool to create designs on the surface of your gourd, you should seal it to protect it. If you use wax as a sealant, you should reapply it every few months.
Well-preserved gourds should last for at least six months, but they can bring that touch of fall to your home for years.