Things to Consider before Planting
Let’s begin with the “don’ts.” Black walnuts are particular about where they grow. Don’t plant them if:
- You’re outside USDA plant hardiness zones 4 through 9.
- Your temps don’t fall into the 33° to 45°F(0.55° and 7.2°C) range for at least 1400 hours each winter. The trees need these chilling hours to produce nuts.
- Your summer temps often hit 100°F (32.2°C) for extended periods.
- Your frost-free growing season is less than 140 days.
- Your soil drains poorly, or the seedlings’ roots won’t be able to penetrate at least 10 feet without encountering hardpan.
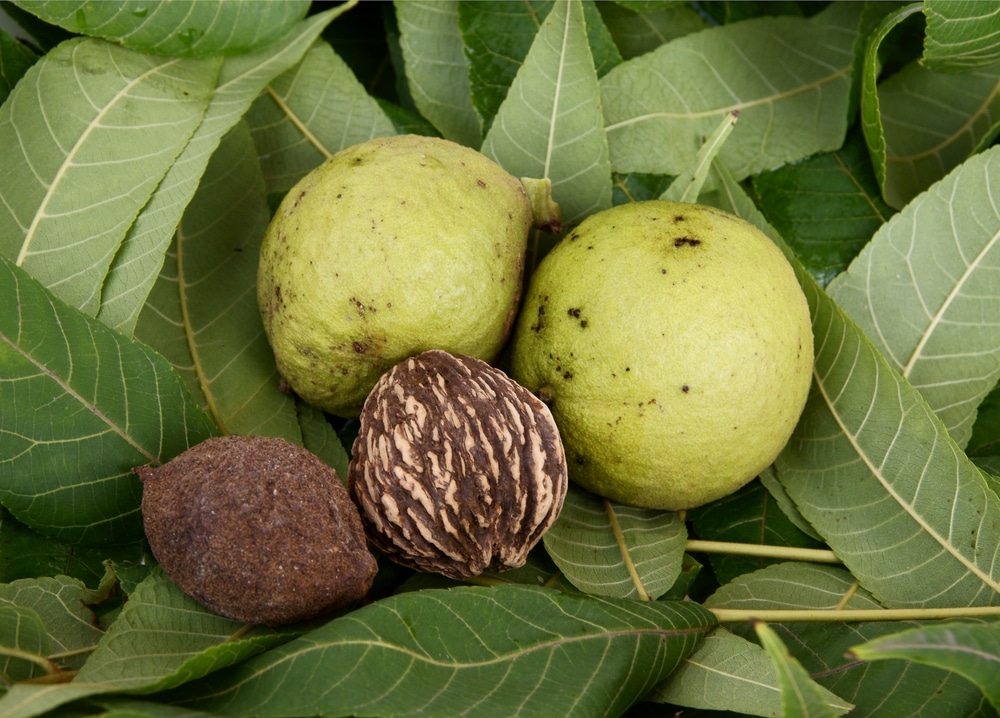
- You envision growing certain things within a 50-foot radius of the seedlings. Black walnuts release a chemical lethal to a long list of plants.
If no “don’ts” apply, you can start growing black walnut seedlings with a reasonable chance of success.
Selecting Your Seedlings
Plant your seedlings in spring. Preferably, get ones grown at a local nursery; otherwise, choose a grower no more than 50 miles north or 200 miles south of you. Purchase seedlings measuring 3/8 inches or more in diameter, 1 inch above their root collars.
Preparing Your Site
To prepare your site, loosen the top 27 inches of soil with a rotary tiller to eliminate weeds and help the seedlings root. Space seedlings grown for their nuts 12 to 17 feet apart. For timber production, 10- to 12-foot spacing is better.
Planting
To plant your seedlings:
- Dig holes the same depth as the seedlings’ containers and wide enough to spread their roots without bending.
- Hold a seedling upright in its hole and begin refilling. Stop halfway and firm the soil with your foot.
- Add more soil and continue firming until the rootball is just covered and the seedling feels secure.
- Spread the remaining soil over the hole to act as a mulch.
- Water well and repeat for each seedling.
Protecting the Seedlings
Protect your seedlings from hungry wildlife with 5-foot plastic tree shelters. Secure the shelters with stakes. In the fall, raise them 2 to 3 inches so cold air will harden the seedlings off. Remove the shelters when the seedlings poke above their tops.