Storing Turnip Greens
You may think that the only way to store turnip greens after you harvest them is in your refrigerator, and that you can only store them for a few days. However, you can freeze both turnip greens and turnip roots.
Storing Turnip Greens in the Refrigerator
The usual way to store turnip greens in the refrigerator is to place them in a plastic bag in the refrigerator. A plastic bag that you have perforated with a hole punch allows air to flow around the greens. You can store your greens unwashed, or you can swish them through several cold water rinses to remove soil from the leaves before storing them.
Turnip leaves have fine hairs that trap soil, so be certain to rinse your greens thoroughly.
Another method is to run your turnip greens through several cold water rinses, allowing the soil to sink to the bottom of the rinse water. Lift the greens up out of the rinse water and place them in a colander to remove the excess moisture. Lay your turnip greens on a cloth towel or layers of paper towel and then roll your greens up in the towel before placing them in the plastic bag. The towel absorbs any moisture that remains on the greens and keeps them moist.
Your turnip greens will stay fresh in your refrigerator for about a week, although wrapping your turnip greens in towels to keep them moist may keep them fresh longer than placing them in the refrigerator unwrapped.
Storing Turnip Greens in the Freezer
You can enjoy turnip greens all winter long if you freeze them. To prepare your greens for freezing:

- Rinse your greens thoroughly by swishing them through several rinses of cold water.
- Remove the stems from the greens.
- Place your greens in boiling water and blanche them for two minutes.
- Immediately plunge your greens into ice water for three minutes.
- Use a colander to remove the excess moisture.
- Place your greens in airtight freezer containers or in freezer bags and store them in your freezer.
Your greens should stay fresh in the freezer for 10 to 12 months.
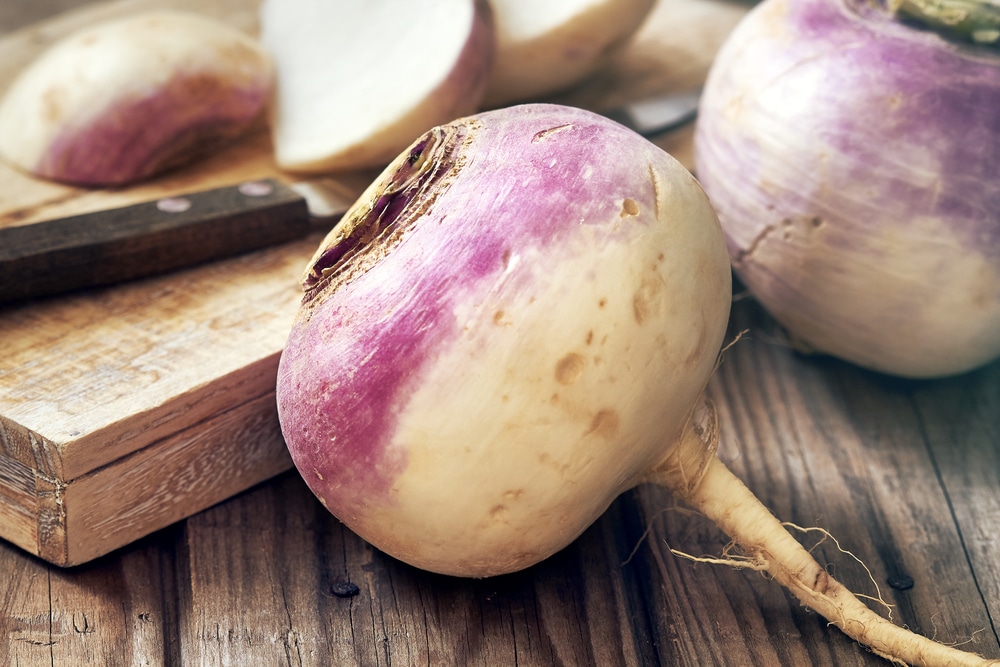
Storing Turnip Roots
Turnip roots can be stored short term in your garden or your refrigerator or stored long term in a root cellar, in your garage or basement, or in your freezer. Frozen turnip roots can be diced, roasted, or mashed depending on how you will use them when you thaw them.
If you live in an area where winters are mild and the ground won’t freeze over, you can store your turnips in the ground. Just cover the ground above your turnips and the space 18 inches beyond them with two feet of hay, straw, or leaves.
Preparing Your Turnip Roots for Storage
After digging your turnip roots out of the soil, immediately remove the tap root. Leave about an inch of the stem from the greens, but remove the rest. You can use these greens immediately or store them. Don’t wash your turnip roots unless you are preparing them for freezing. Washing them or exposing them to moisture before storing them in a garage, basement, or root cellar gives mold spores a chance to grow.
Storing Turnip Roots in Your Refrigerator Short Term
Small turnip roots and a few larger ones that you intend to use within about two weeks can be stored in your refrigerator.
Preparing Your Turnip Roots for Storing in Your Root Cellar, Basement, or Garage
If you plan on storing your turnip roots in your garage, basement, or root cellar, you will need to place them in a crate.
- Cover the bottom of the crate with a layer of damp newspapers or sawdust.
- Place a single layer of turnip roots on top of the sawdust or newspapers. Leave room for air to circulate between the turnip roots.
- Cover the turnip roots with a second layer of damp sawdust or newspapers.
- Store your crated turnip roots in a cool, dark space in your garage or basement or in your root cellar.
Regularly check your turnip roots for signs of spoiling or sprouting, but you should be able to store your turnips for three to four months with this method. If you should have some turnips begin to sprout, transfer them to a pot filled with potting soil for vegetables or herbs and vegetables, and you will have a supply of fresh turnip greens for the winter.
Preparing Turnips for Freezing
The methods for preparing roasted, mashed, and diced turnips for freezing are slightly different. Regardless of how you freeze your turnip roots, though, they should remain fresh and flavorful for about three months in the refrigerator compartment of your freezer and for nine to 12 months in your deep freeze.

Preparing Roasted Turnips for Freezing
Preparing roasted turnips is easy, and you can display your creative flair by adding additional seasonings.
- Preheat your oven to 425° F (218°C).
- While waiting on the oven to preheat, wash your turnip roots thoroughly and then peel them.
- Dice your turnips into 1/2 inch cubes or cut them into wedges, depending on how you will want to serve them when you thaw them.
- For each pound of turnips, add 1 tablespoon of olive oil and 1/2 teaspoon of salt, and make sure that the turnips are well coated with the salt and oil.
- Place the turnips in a sheet cake pan or on a cookie sheet, spreading them out over the surface, and place them in the oven for 30 minutes or until they are tender.
- Allow the roasted turnips to cool, and then place them in freezer bags or airtight freezer containers. Be certain that you remove all of the air from the freezer bags.
- Place the freezer bags or containers in your freezer.
Preparing Mashed Turnips for Freezing
If you want to serve your turnips mashed as you would mashed potatoes, you can save time by mashing them before freezing them.
- Wash and peel your turnip roots and then dice them into 1/2 inch cubes.
- Place the turnips in a pot of boiling water, cover the pot, and leave the turnips on the range for about 25 minutes or until they are tender.
- Drain the turnips and then mash them or puree them in a blender.
- Transfer the mashed turnips to airtight freezer containers, filling the containers up to about 1/2 inch from the top
- Place the containers in your freezer.
Preparing Diced Turnips for Freezing
If you want to use your turnips in soups or stews or serve them as a side dish like diced potatoes, you can dice them before freezing. To prepare your turnips for dicing and freezing:
- Wash your turnip roots and then peel them and dice them into 1/2 inch cubes.
- Place the cubes in boiling water and blanche them for two minutes.
- Plunge the diced turnips into ice water and leave them for three minutes.
- Spread the cubes out over the surface of a cookie sheet, cover them with a sheet of freezer wrap, and place them in the freezer for two hours.
- Transfer the cubes to airtight freezer containers or freezer bags. Be certain to remove the air from the freezer bags.
Helpful Suggestions for Freezing Turnip Greens and Turnip Roots
You don’t have to season your roasted turnips with just plain salt and oil. In fact, you can add seasonings to your mashed turnips as well. The seasonings below are among those that blend well with the natural flavor of turnips:
- Bacon
- Parmesan or gruyere cheese
- Apples or apple cider
- Carrots
- Tarragon
- Cinnamon
- Nutmeg
- Brown sugar
- Maple syrup
If you are storing your turnips or turnip greens in freezer bags, place a straw in the center of the opening of the bag and press the seal strip together to seal the bag up to the straw on each side. Then press on the bag from the bottom up to the top to remove air from the bag to prevent freezer burn. Remove the straw, finish sealing the bag, and place your turnips or turnip greens in the freezer.
Remember to use freezer tape and an indelible marking pen to date each package, and if you have tried some of the seasonings above, label the packages with the seasonings you used in each one. Don’t rely on putting them in the freezer in a particular order or location because you just know that someone else will be in the freezer shuffling your packages around, and you might end up with an odd note in the harmonious blend of flavors that you planned for dinner one night.