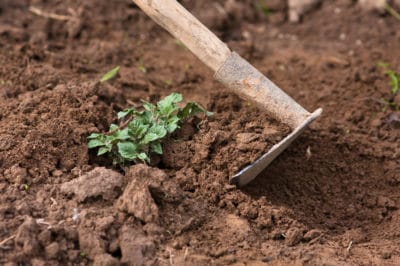
The Science Behind Potato Hilling
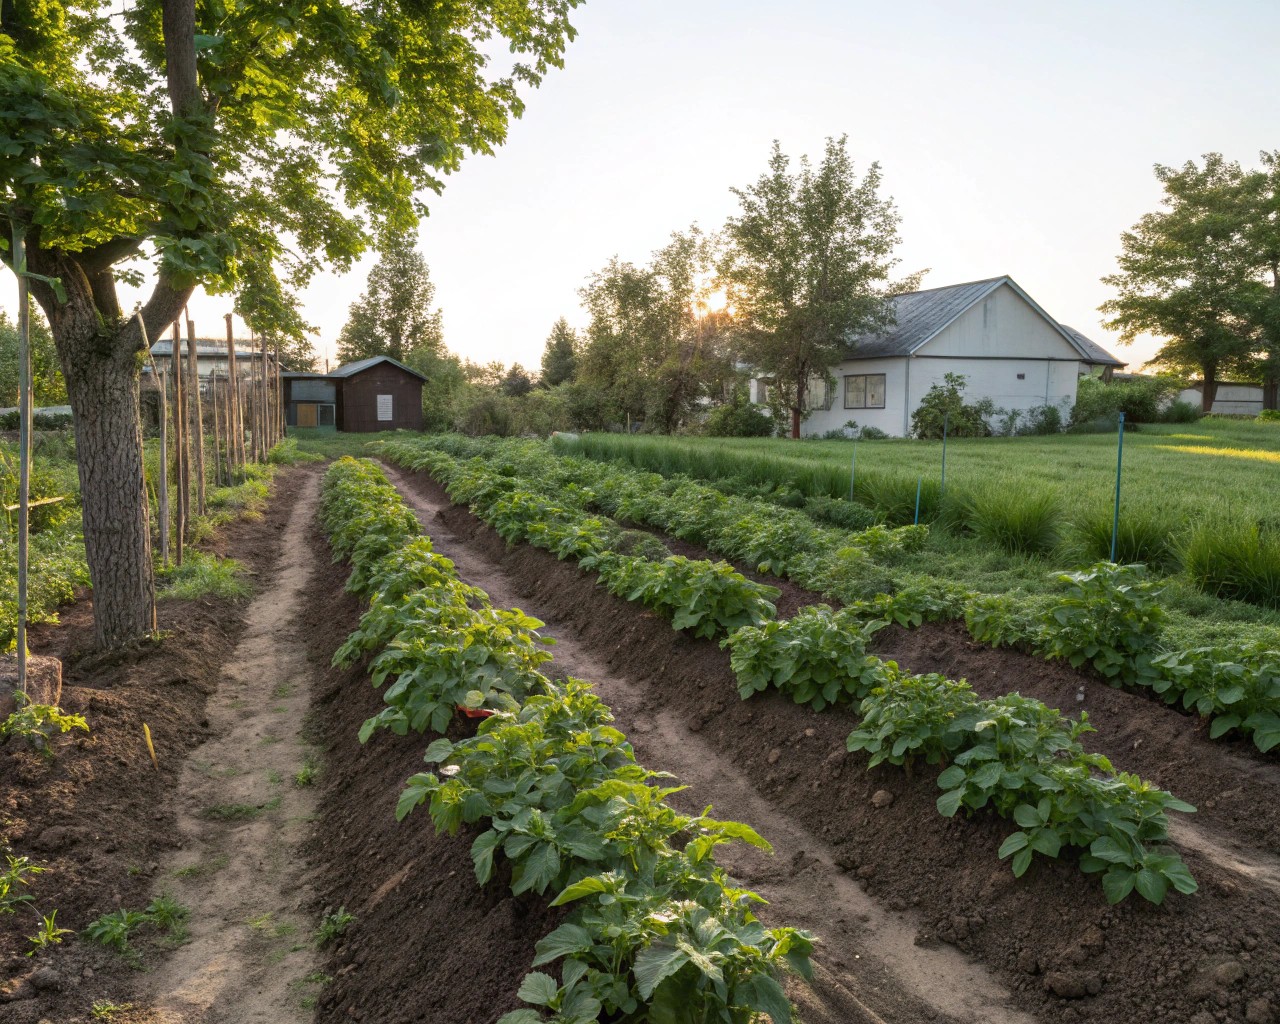
Potatoes (Solanum tuberosum) develop not from roots, but from underground stems called stolons. These horizontal offshoots grow from the main stem and form tubers along their length—but only in the parts of the stem that remain buried. This is where hilling becomes essential: by covering more of the stem with soil, you increase the potential area for stolon and tuber formation.
Timing is crucial. After the initial vegetative stage—typically 30 to 70 days after planting—potatoes enter a two-week window of tuber initiation. If hilling occurs before or during this window, it can dramatically increase the number of tubers produced per plant.
Tip: Avoid delaying your first hilling—early coverage of stems yields more stolons and, ultimately, more potatoes.
Key Benefits of Hilling
Yield Boosting and Quality Protection
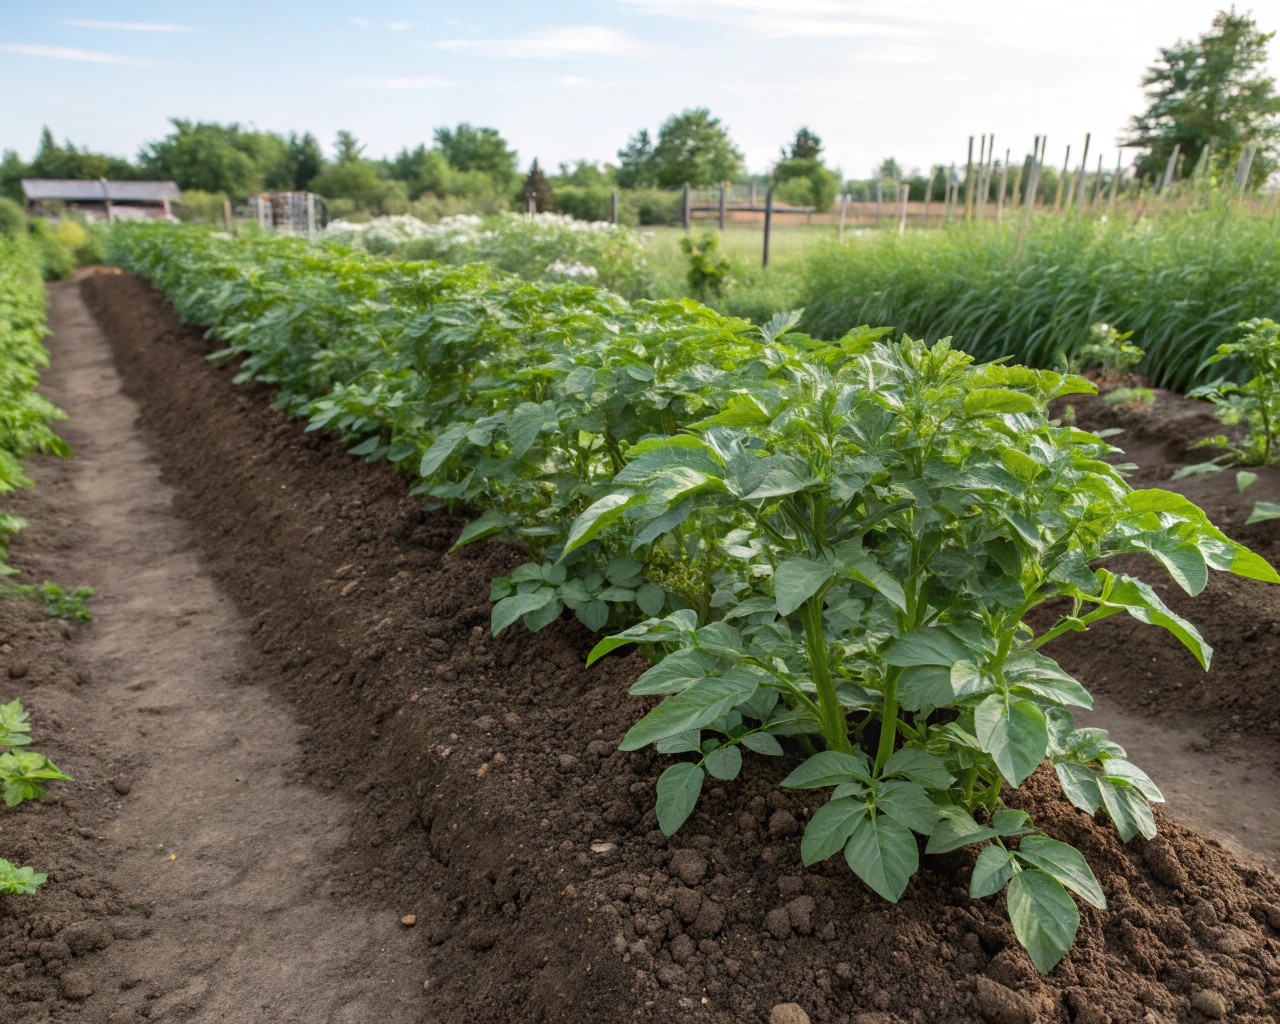
Proper hilling increases both the quantity and quality of the harvest. More buried stem means more stolons, which directly correlates with increased tuber count. Additionally, covering the tubers protects them from sunlight, which causes the development of solanine, a toxic compound that turns potatoes green.
Hilling also improves:
- Tuber shape and size uniformity
- Soil aeration, supporting healthier roots
- Drainage, reducing risk of rot and disease
Weed Suppression and Plant Support
Soil or mulch added during hilling naturally smothers emerging weeds, reducing the need for manual weeding or herbicides. It also helps stabilize growing plants, especially tall or top-heavy varieties, by reinforcing their base.
In regions prone to late frosts, hilling acts as an insulating layer, protecting delicate stems and leaves.
Tip: If a cold snap is forecasted, add an extra layer of soil to cover vulnerable growth temporarily.
When to Hill Potatoes
Initial Hilling
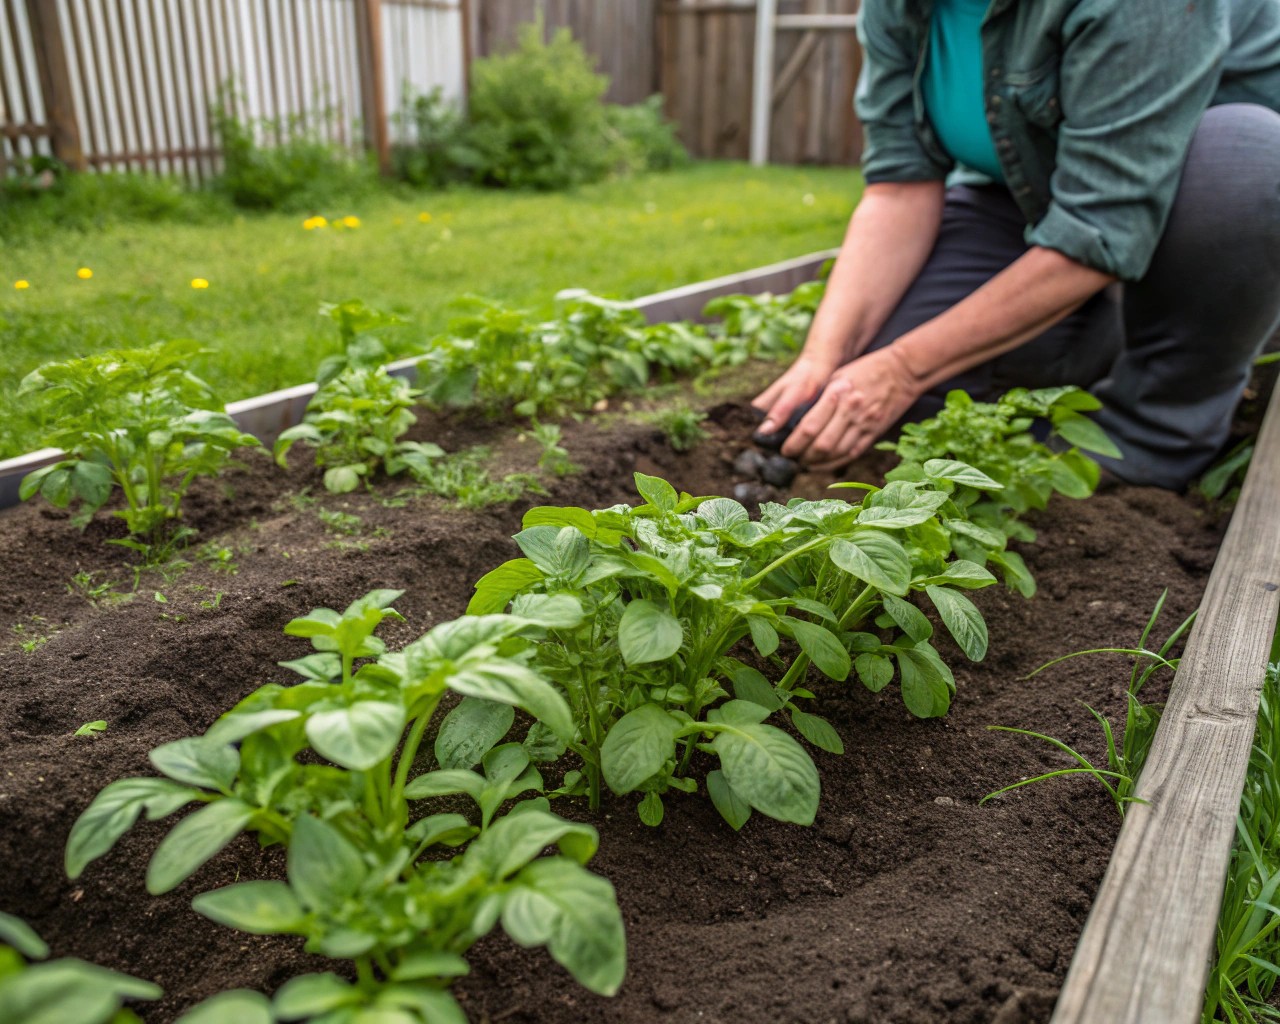
Begin when plants reach 6–8 inches (15–20 cm) in height. Mound soil up the base so only the top 2–3 inches of foliage are exposed.
Follow-Up Hillings
Perform a second hilling 2–4 weeks later, when new growth has again reached 6–8 inches. Depending on plant vigor and growing season length, a third hilling may follow shortly after flowering begins.
Each hilling adds another 4–6 inches to the mound. Final ridges often reach 12–15 inches high and 30–35 cm wide.
| Hilling Stage | Plant Height | Soil Height Added |
|---|---|---|
| First | 15–20 cm | 10–12 cm |
| Second | 30–35 cm | Another 10–12 cm |
| Optional third | 40–50 cm (near flowering) | Final 5–8 cm |
Visual Indicators of Hilling Timing
| Sign | What It Means |
|---|---|
| New shoots 6–8″ high | Time for first hilling |
| Foliage regrows above hill | Schedule second hilling |
| Plants begin flowering | Optional final hilling |
Hilling Materials and Methods
Soil-Based Hilling
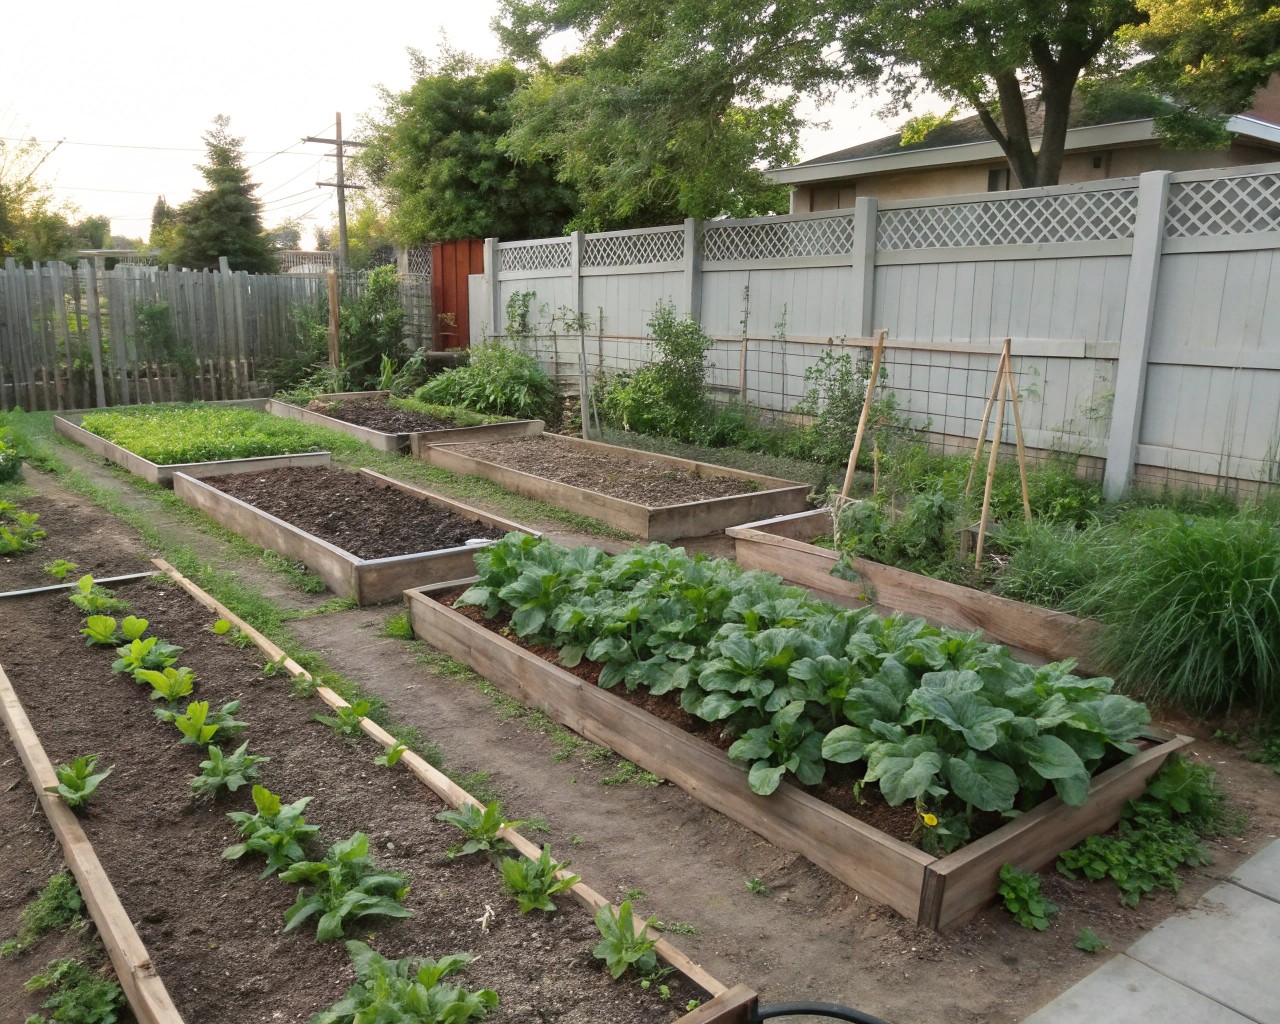
This is the most traditional and widely used method. It involves pulling loose soil from between rows and mounding it up around the base of each plant. Soil hilling works best when the soil is:
- Well-draining
- Loamy or sandy in texture
- Enriched with compost or aged manure
Avoid clay-heavy or compacted soil, which can prevent stolon growth and create poor aeration conditions.
Tip: Add a layer of compost before each hilling to combine tuber protection with gentle feeding.
Mulch-Based Hilling
Organic mulch offers insulation and suppresses weeds while creating a looser environment for tuber formation. Effective mulch materials include:
- Straw
- Untreated grass clippings (thin layers)
- Shredded leaves
- Coarse compost
These materials hold moisture, buffer soil temperature, and decompose over time—enriching soil structure. They also make harvesting easier by allowing tubers to be lifted from loose material instead of dense earth.
Container and Raised Bed Techniques
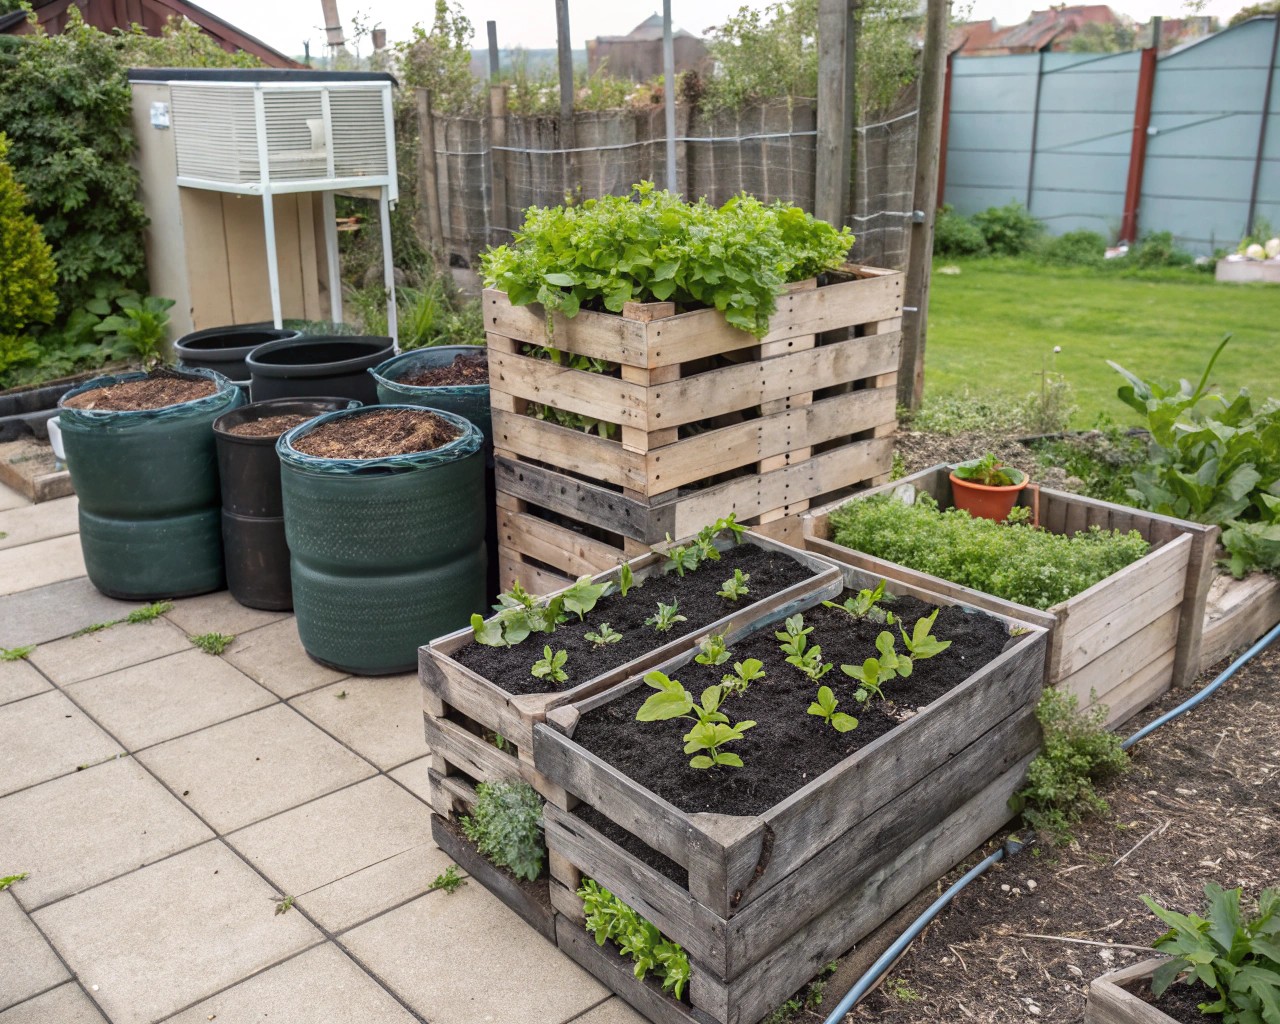
Potatoes grown in containers or raised beds benefit from a controlled hilling approach. Use bags, stacked boxes, or vertical grow rings to expand growing space upward as the plant develops.
Each time stems grow beyond the current layer, fill the space with soil or mulch until only a few inches of leaf growth remain exposed.
| Hilling Container | Recommended Height | Best Material |
|---|---|---|
| Grow bag (40 L) | Up to 45 cm | Compost + straw mix |
| Wooden crate | Up to 60 cm | Layered leaf mold + compost |
| Stacked tires or rings | 60–75 cm | Loose soil or straw |
Soil Type and Climate Considerations
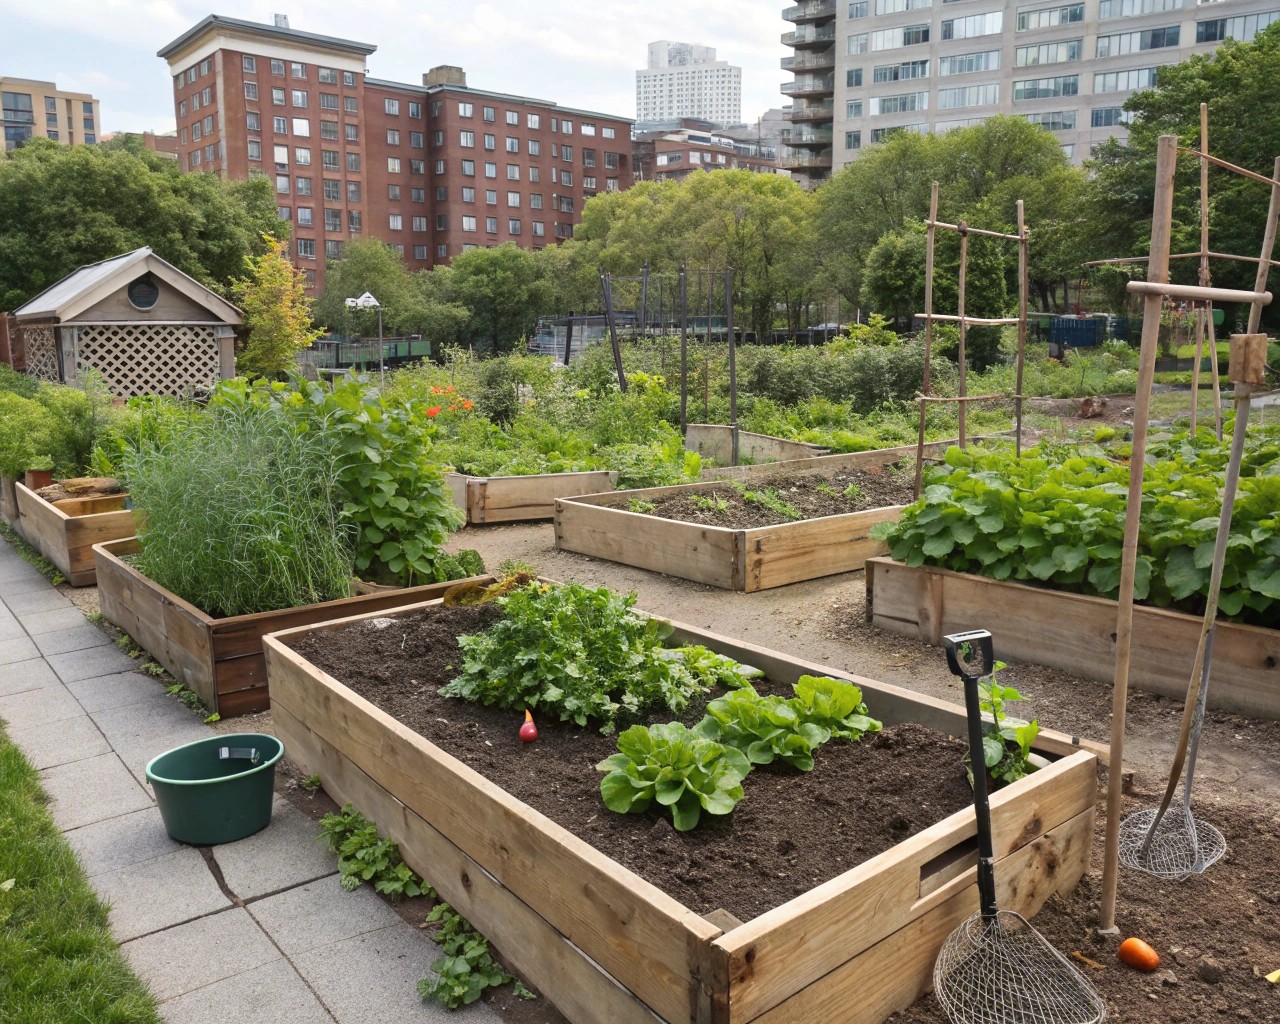
Different soil types demand different hilling strategies:
- Sandy soils benefit from frequent mulching to retain moisture
- Clay soils should be amended with compost for improved aeration
- Loamy soils offer the ideal balance of drainage and moisture
In humid climates, soil-based hills should be slightly sloped to improve runoff. In hot, dry areas, mulch helps reduce evaporation and prevent heat stress.
Tip: In very wet climates, use ridged beds or trenches to improve drainage during hilling.
Common Hilling Mistakes
- Hilling too early: May suppress sprouting
- Too deep: Can smother stems
- Not repeating: One-time hilling isn’t enough for maximum yield
- Incorrect material: Dense or chemically treated mulches can damage plants
Hilling for Disease and Pest Prevention
Proper hilling helps prevent common potato issues:
- Greening: Covered tubers are protected from sunlight
- Wireworm damage: Straw hilling discourages pests that burrow through dense soil
- Early blight: By improving airflow and reducing splashback
Varietal Tips by Region
Certain potato varieties perform better in specific regions:
| Region | Recommended Varieties | Notes |
|---|---|---|
| Cool North (Zones 3–5) | Yukon Gold, Red Norland | Early maturing, good for short seasons |
| Temperate Midwest | Kennebec, Gold Rush | Excellent for soil hilling and storage |
| Hot South (Zones 8–10) | Russet Norkotah, Caribe | Heat tolerant, responds well to mulch hilling |
