Gardeners, Start Your Harvesting
While okra may get off to a slow start, it grows quickly once temperatures warm, and once it flowers, it begins producing pods quickly. Your okra will mature from 50 to 65 days after you plant it, depending on the growing conditions and the variety you planted. It will produce pods five to six days after it blooms, and the pods will be ready for harvesting two to three days after they first appear.
To at least try to keep ahead of things, you can start watching for flower buds about 45 days after you plant your okra. If you didn’t plant a spineless variety, you will probably want to wear long sleeves and gloves when searching for and harvesting okra because some gardeners find that the spines irritate their skin.
A Jungle Treasure Hunt for Okra Flowers and Pods
The first flower buds, flowers, and subsequent pods will appear among the large leaves at the base of the plant. You will most likely have to push these leaves aside to find the flowers and pods and hold the leaves back as you harvest the pods, but be careful not to damage the leaves or knock down any flower buds, flowers, or pods when you move the leaves as you search.

The flower buds, flowers, and pods will begin appearing at increasingly higher levels on the plant, and when they do, you can use pruning shears to remove those large lower leaves. Removing them will encourage more pods to appear higher on the plant.
Okra varieties can grow to over 6 feet tall. To avoid having to climb a ladder to harvest your okra, you can trim it back. In late summer, you can cut back the top third of your okra plants. The plants will continue to produce at the lower levels.
Harvesting Your Okra Treasure
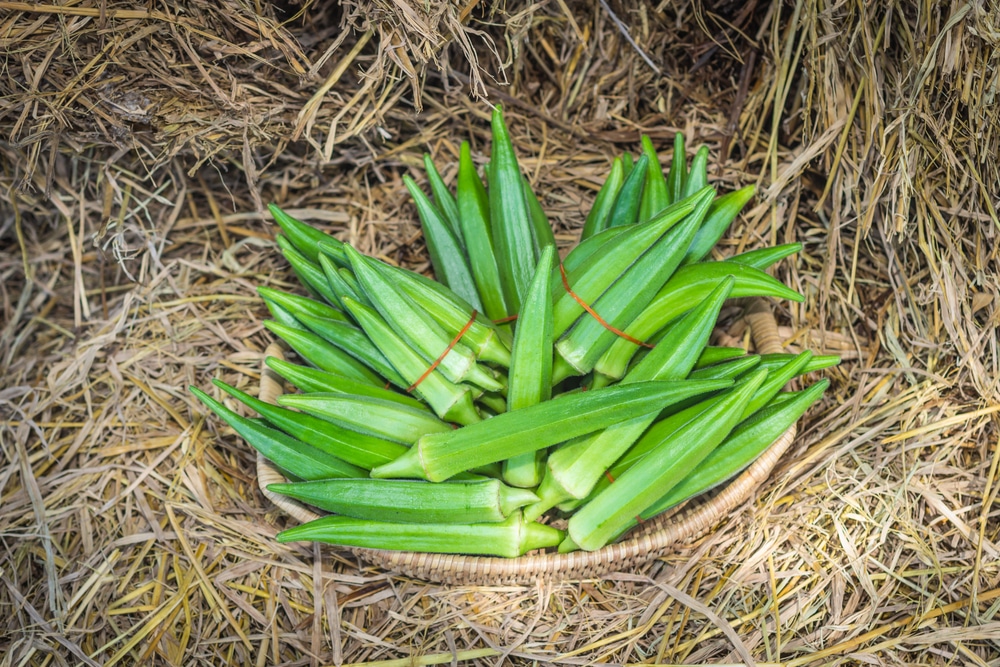
The pods that you want to harvest are the ones that are 2 inches long or longer. The pods that you will want to keep are the ones that are 2 to 4 inches long.
Okra pods can grow up to 12 inches long, but those that are over 5 inches long are likely to be too woody and tough to eat. Unless it is near the end of the growing season and you want to harvest the okra seeds, you should remove these longer pods from your plants when you find them. Leaving them on the plant will slow the production of new pods as the plant turns its energy toward growing and maturing the seeds in the older, longer pods.
With okra, the more pods you harvest, the more pods your plants will produce.
Harvesting okra is easy. Simply use pruning shears or a sharp knife to cut the stem, leaving about 1/4 inch of the stem at the top of the okra pod. When you are harvesting okra at the base of the plant, you may have your hands full as you try to cut stems while holding back the leaves. It won’t hurt the pods to let them fall to the ground at these low levels.
Try to catch the pods or hold onto them as you cut the stems at higher levels, though, to keep the pods from becoming bruised by a fall. Have a basket or bag hung over your arm to put the okra in as you cut it.
At the end of the growing season, when you are done harvesting your okra and any seeds that you want to save, you can pull your okra up by the roots. Okra, however, is a very woody, fibrous plant. So, before you add it to your compost, you will need to chop it up into small pieces or toss it down on the ground in your garden and run your lawn mower over it as you bag it before you add it to your compost.
Separating the Good Pods From the Bad
When you are harvesting your okra, you will want to keep pods that are:

- Bright green in color,
- 2 to 4 inches long, and
- firm but tender to the touch.
You should discard pods that are:
- A dark, dull green,
- Longer than 6 inches,
- Have stems that are tough to cut, or that
- Have cuts, spots, or discolored areas or that are bruised, limp, or soft.
If you aren’t sure about whether or not to keep some of the longer pods that you harvest, clean them in your kitchen as if you were going to use them, and then try snapping them in half or cutting them open with a sharp knife. If the pods cut or snap open easily, they are still good, but you should use them within a day or two. If they are difficult to cut open, then they have become too mature, and you should add them to your compost.
Storing Your Okra After Harvesting
You can store your okra in your refrigerator or you can freeze it, can it, or pickle it, but process it for long term storage immediately after harvesting because okra spoils quickly. You can keep okra in your freezer for up to nine months. Always label frozen, canned, or pickled vegetables with the what vegetable is in the package or jar, the date that you processed it, and the seasonings or recipe that you used to prepare it.
You can find many delicious recipes for canning and pickling okra online. If you want to experiment with creating your own recipes, flavorings that go well with okra include:
- Lemon
- Garlic
- Parsley
- Basil
You also can create your own vegetable blends by freezing, canning, or pickling okra together with:
- Eggplant
- Peppers
- Corn
- Tomatoes
- Onions
When canning, only fill the jars to within 1/2 inch from the top to allow room for the contents to expand when the jars are heated, and always remember to wipe the rim of the jars clean after filling them to ensure a tight and complete seal.
You can freeze okra pods without blanching them, but blanching them destroys the enzymes and kills the bacteria that would cause the color, flavor, texture, and nutritional value of your okra to deteriorate.
After blanching okra, you can freeze the pods whole, cut them in slices, or dice them. Spread the diced or sliced okra on a cookie sheet. Cover it with plastic or paper freezer wrap to prevent freezer burn, and then put it in the freezer for two hours until it is frozen hard before transferring it to freezer bags or containers. Fill the bags or containers to within 1/2″ of the top, and prevent freezer burn by removing as much of the air as possible.
Harvesting and Storing Okra Seeds
If you are harvesting seeds for the next growing season, you need only harvest the seeds from one plant while you continue to harvest okra from the others. To maintain a specific variety of okra, however, you will need to save seeds from five to 10 plants, and to preserve a rare variety, you will need the seeds from 10 to 25 plants.
Leave the pods on the plant until they have dried and turned brown, then cut them from the plant as you would as if harvesting them to eat. Spread the pods out to dry on landscaping material or screens or hang them in mesh bags until the pods become brittle.
Once the pods are brittle, you can cut them open with pruning shears and pour the seeds out, or you can break the pods open and work the seeds out of the broken pieces with your hands. Okra seeds are large, so screening and winnowing them easily separates the seeds and the chaff. The seeds will remain viable for up to three years if they are stored in a dark, dry, cool place that is protected from pests.