Choosing Containers for Okra
While you can be almost as creative as you want to be when choosing a found or repurposed container for smaller plants, okra requires a sturdy container because it needs to support a tall plant and retain at least 3 to 5 gallons (11 to 19 liters) of soil moist.

Be certain that your chosen containers have never been used for poisonous or hazardous materials, though. If you aren’t certain, find another container.
Any container you choose needs to have enough depth to accommodate okra’s taproot. This means your container should be at least 14 inches deep. If you are putting each plant in an individual container, your containers should be 12 to 14 inches wide.
If you want to grow your okra in a planter, it should be long enough to allow 18 to 24 inches between the plants, exactly the same spacing you would use if you were planting okra in a garden.
Okra likes the heat, so, while it will likely cause the soil to dry out more quickly and increase the need for watering, consider choosing dark-colored, heat-absorbing containers for your okra.
Suggested materials include:
- Ceramic pots
- Clay pots
- Concrete planters
- Cement planters
- Stone planters
- Brick planters
- Wood planters
- Plastic or galvanized buckets or tubs, but punch or drill drainage holes in the bottom and sides.
Containers for any plant needs to have enough holes in the bottom, and sometimes the sides, to provide sufficient drainage.
Why You Should Use Potting Soil, Not Plain Topsoil
Even if you are planting your okra in a planter or tub, you should use potting soil, not plain topsoil. Potting soil is lighter and looser than topsoil, and okra prefers light, sandy or loamy soil. Because topsoil is heavier, it can become packed down in a container, and that interferes with good drainage. Plant molds, mildews, and other soil-borne diseases can arise from soils that are too wet if containers cannot provide sufficient drainage.
Before using topsoil, you will need to mix it with equal parts of topsoil, vermiculite, sand, and organic matter to ensure that your containers of okra drain well.
If you are choosing a potting soil for your okra, pick one that has been mixed for vegetables or herbs and vegetables that is rich in organic materials and that has a pH level of 6.0 to 6.5. Okra will grow in soils with pH levels up to 7.0, but avoid soils with pH levels above 7.6.
You can also use a potting soil mix that contains no soil but that consists of equal parts of sand, vermiculite, and sphagnum peat moss.
Work aged compost, aged manure, or a 10-10-10 or 20-20-10 organic fertilizer into your potting mix before adding your potting mix to your pots. When you’re growing okra, or any other plant, in a container, watering removes some of the nutrients from the soil, so container grown plants need extra fertilizer.
Choosing Okra Varieties
Regular varieties of okra can grow to be 8 feet tall. You can grow them in containers, or keep them a more manageable height for harvesting in a garden, by cutting back the top one-third of each plant late in the summer. Topping off your plants won’t interfere with their pod production. It just keeps the pods within reach.
Dwarf and semi-dwarf varieties are available, however, and dwarf varieties grow to just 5 feet tall. These varieties include:
- Blondy – a dwarf variety
- Baby Bubba – a dwarf variety
- Cajun Jewel – a dwarf variety
- Prelude – a semi-dwarf variety
- Lee – a semi-dwarf variety
When to Plant Okra
Okra will not tolerate frost, so, regardless of where you live, wait until two weeks after the last frost date in your area. In warmer climates, you may be able to start your okra in early spring, but in cooler climates, you may need to wait almost until the start of summer.
For okra to germinate and grow well, wait until daytime temperatures reach 85°F (29°C) or higher and nighttime temperatures reach 60°F (16°C) or higher. Those temperatures will keep the soil temperature in your pots at or above 65°F (18°C), where okra needs it to be.
How to Plant Okra in Containers
Okra seeds are covered by a protective coating, so you need to prepare them before sowing to encourage them to germinate. You can nick the coating of each seed with a rasping file, soak the seeds for 12 to 18 hours, or wrap them in moist paper towels overnight.
The pots in which you grow your okra will become very heavy when you fill them with potting mix and water them. You also will want to avoid drips when you water your plants, especially if you are growing your okra on a balcony.
Setting your pots on plant pot casters allows you to move your plants, and placing pot saucers under your pots or lining a larger pot with gravel and then placing your okra pot inside the larger pot avoids drips.
Layer the bottom of your okra pots with broken pottery pieces or gravel for drainage before adding your potting mix. Fill your pots to within 1/2 inch of the edge with your potting soil mix.
When you are growing okra in pots, you want to make sure that your plants thrive. If you attempt to transplant okra seedlings into your pots, you run the risk of damaging the taproot. For that reason, it’s better to sow the okra seeds directly in the pot than to transplant seedlings.
Sow the seeds in clusters of three to five to make sure that at least one seed in each cluster germinates. Space the seeds 1/2 inch apart, and if you are sowing the seeds in a planter, space the clusters 18 to 24 inches apart. Fill in the spaces between your okra with some of the companion plants listed below.
When your seedlings are 2 to 3 inches tall, choose the strongest plant from each cluster, and snip off the rest.
Caring for Okra
Okra needs six to eight hours of sunlight a day, and it likes the heat. This can dry out the soil in the container, so test the soil by sticking your finger down into the pot every few days.
Keep the soil inside the pot evenly moist, but don’t allow the top layer of soil to become muddy. Once your seedlings appear and your plants are established, you should only need to give your okra about an inch of water per week.
When your okra is about 8 inches tall, apply an organic nitrogen fertilizer like bloodmeal or aged poultry manure around the stem of each plant. Use about 1/2 tablespoon per 12-inch container or planter space. You can also use water-soluble or liquid organic fertilizers.
Fertilize your okra again a few weeks later.
When your okra is about 2 feet tall, encourage branching by pinching off the leaves at the end of each branch. More branches produce more pods.
Filling in the Wide Open Planter Spaces With Companion Plants
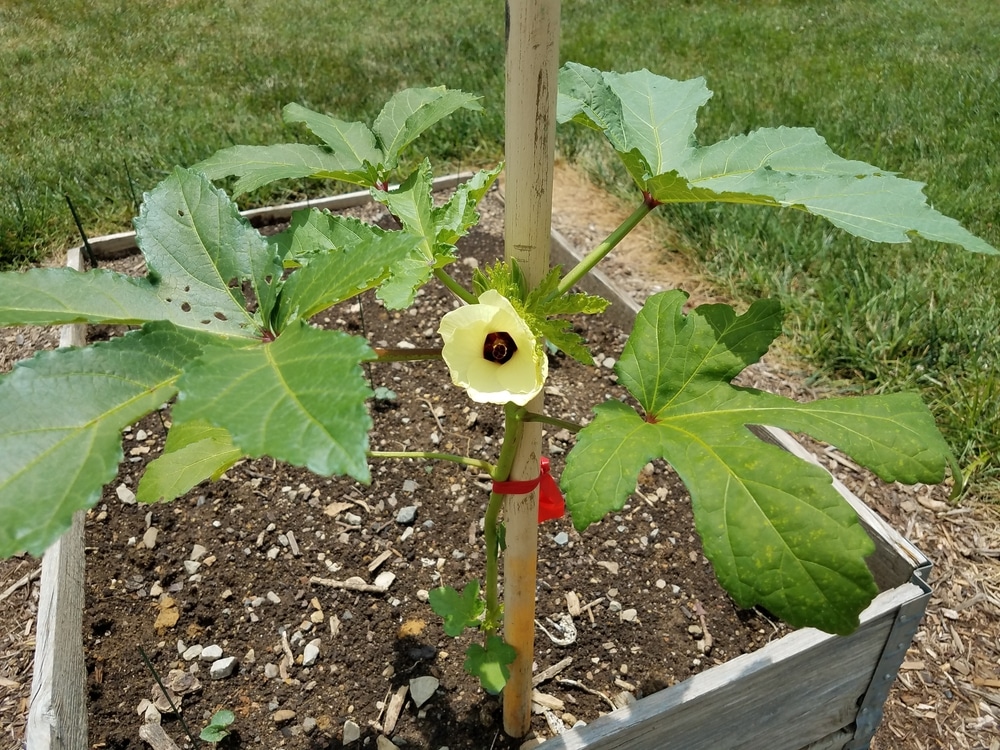
Spacing okra 18 to 24 inches apart leaves a planter looking pretty sparse, but you can fill in with okra’s companion plants or with flowers to attract pollinators. Okra is related to the hibiscus and has similar blooms, so you could have quite an attractive floral display.

Okra’s companion plants include:
- Lettuce – appreciates the shade okra provides and adds foliage to your planter as well as a salad green.
- Peas and spring peas – add nitrogen to the soil for your okra, plant your peas in the early spring, and then plant your okra after you harvest your peas.
- Beans – lure stink bugs from your okra, and add a versatile vegetable to your container garden.
- Radishes – keep the soil loose for okra’s taproot, lures flea beetles away from okra, and provides another crunchy edible.
- Mint – repels flea beetles and gives you an herb for flavoring.
- Catnip – repels flea beetles.
- Peppers – add another veggie to your planter if you have room for them, lure stink bugs from okra, and repel cabbage loopers, the caterpillars of the dark-winged, nocturnal owlet moth.
- Nasturtiums – lure flea beetles from okra and attract pollinators.
Avoid adding plants that require full sun to your planter because even dwarf varieties of okra can grow tall enough to produce too much shade to allow them to thrive.
Other Protections for Okra
Companion plants help protect okra from insect pests, but other steps protect okra from pests and diseases.
Attracting Okra’s Insect Protectors
In addition to attracting pollinators, including flowers in your planter will also attract insects like green lacewings, tachnid flies, trichogramma wasps, hoverflies, and lady beetles, or lady bugs if you prefer. The larva of these insects, and some of the insects, prey on the pests that attack okra.
Protecting Okra from Pests
Additional steps you can take to protect okra from pests include sprinkling diatomaceous earth on the soil around your okra and using organic sprays such as tomato leaf spray, garlic spray, sprays made from dishwashing liquid, and Spinosad.
Diatomaceous earth is made of crushed shells that puncture the soft bodies of caterpillars and insects like aphids as they crawl over it, causing them to become dehydrated and die.
Precautions for Making and Using Tomato Leaf Spray and Garlic Spray
As for using the sprays, two of then require some precautions.
Creating tomato leaf spray requires chopping up the tomato leaves. Tomatoes are related to nightshade, so some people do have an allergic reaction when chopping up the leaves and using the spray. For that reason, it’s a good idea to wear gloves and long sleeves when making and using tomato leaf spray. You should also avoid applying it on a breezy or windy day.
When using garlic spray, test the concentration on a small area of a single plant before spraying it all over all of your plants. Some concentrations are too strong for some plants, and you may need to dilute your spray more than once to find the right combination. As you do find the right concentrations for your plants, label each bottle with the concentration it contains and the plants on which to use it.
Protecting Okra From Diseases
Good drainage is particularly important for okra, because it is vulnerable to powdery mildew, white mold, bacterial spot, Southern blight, vascular wilt, and fusarium wilt.
To prevent mildews and molds, avoid getting water on the leaves of the plants, and water in the morning to give the leaves and the top layer of soil a chance to dry out before night arrives.
Cleaning your gardening tools between uses and maintaining a soil pH of 7.0 also helps prevent the occurrence of soil-borne diseases like Southern blight, vascular wilt, and fusarium wilt.
Harvesting Your Okra
When your okra begins to bloom, the pods will begin to appear quickly – within five or six days, and they will be ready to harvest within two to three days after that. The flowers and pods will appear near the base of your plants first, and then make their way up to the top.
When you have harvested the pods from the lower leaves, you can remove them to encourage your okra to develop pods higher on the plant.
The best time to harvest your okra is when the pods are 2 to 3 inches long. You can still use pods that are up to 5 inches long, but pods over 6 inches long are generally too tough and woody to eat.
You should still remove these longer pods from your plants when you find them, though, because leaving them causes your plant to turn its energy toward producing seeds rather than pods.
Even spineless varieties of okra still have some spines, and they can irritate your skin. To avoid this reaction, it’s a good idea to wear long sleeves and gloves when harvesting okra. Use pruning shears or a knife, and cut the stem just above the cap on the pod, leaving a short bit of stem. Okra pods bruise easily, so be careful not to drop them. Have a basket or bag on your arm and put the pods in it as you clip them.
If you find a larger pod and the stem is difficult to cut, then that pod will be too tough to eat. Use it for compost or discard it.
Storing Your Okra
You can store your okra in your refrigerator for a few days. Don’t clean your okra until you are about ready to use it, and then give it time to dry thoroughly before cooking with it to reduce the sliminess.
You can also freeze, can, or pickle okra.