Blackberry Basics
As caneberries, blackberries don’t grow on woody shrubs the way blueberries, currants, gooseberries or elderberries do. Instead, they grow on narrow, flexible stems, or canes, that sprout at soil level from the plants’ crowns.
Growth Habit
Depending on their growth habit, blackberries are described as erect, semi-erect or trailing:
- Erect varieties produce thorny canes with large, sweet fruit. Besides being self-supporting, they’re the most cold-tolerant type.
- Semi-erect varieties may be thorny or thornless, with fruit of varying sweetness. These blackberries need support.
- Thorny or thornless trailing varieties also require support. They’re notable for wonderfully sweet, large fruit.
Floricanes vs. Primocanes
Nearly all blackberry cultivars are floricanes; they bear their crops on the previous year’s canes. Depending on where they grow in USDA hardiness zones 4 through 10, they’re ready for picking between early June and mid-August.
Popular floricane cultivars include:
- Semi-erect, thornless ‘Osage,’ zones 5 through 8.
- Semi-erect, thornless ‘Triple Crown,’ zones 6 through 9.
- Trailing, thornless and disease-resistant ‘Sweetie Pie,’ zones 5 through 9.
- Erect, thornless ‘Natchez,’ zones 5 through 9.
Primocanes
Blackberries fruiting on their current year canes are primocanes. Their crops typically ripen later in the season — from late August through early November, depending on hardiness zone.
The first commercially available primocane blackberry was ‘Prime-Ark Freedom, ’ introduced in 2013. It’s an erect, thornless cultivar suitable for zones 5 through 8. It boasts a late-summer to mid-fall harvest of very large, sweet berries.
Other primocane cultivars include erect, thorny ‘Prime-Jim’ and ‘Prime-Jan’. Both are hardy in USDA zoned 4 through 8.
The Best Blackberries for Your Climate
Blackberries grow across such a wide hardiness zone range that you’re almost certain to find one suitable for your area. Cold hardiness is critical because severe winter weather often damages the canes remaining above the snow line so much that they can’t flower or fruit.
The difficulty is that the most cold-tolerant varieties, such as ‘Prime-Jim,’ Prime-Jan’ and ‘Hardy Illini,’ don’t perform well in heat. If your winters are mild and summers warm to hot, ‘Cherokee,’ ‘Cheyenne’ and ‘Shawnee’ are much better choices. For the best chance of success, consult with your local nursery before making a decision.
Preparing to Plant
To perform their best, your blackberries need a planting site with six or more hours of daily sun. If your mid-summer sun is strong enough to dehydrate the developing blackberries, protect your plants from it with 40-percent shade cloths. They’re available at garden supply sores.
Soil
To maximize their nutrient absorption and to minimize their risk of disease, give them well-draining, acidic soil with a pH between 5.6 and 6.2.
Because sandy loam soil holds on to fertilizer but allows excess water to drain, it’s ideal for blackberries. Heavier soil does work, but you should loosen it prior to planting with a generous amount of organic compost or well-aged manure.
Growing in containers? Choose a potting mix formulated for acid-loving plants.
Planting Your Blackberries
Plan your site to allow 3 feet between each of your blackberry plants. In a cold-winter climate, they can go in the ground when danger of spring frost has passed. Where winters are mild, they can wait until fall.
- Cutting the canes back to 6 inches (if the nursery hasn’t already done it) keep them from fruiting in their first year. As a result, they put their energy into growing vigorous root systems.
- Remove the packing material from bare-root plants and soak them in water for several hours before planting.
- Dig holes wide enough to contain the roots without crowding.
- Set each plant in its hole with its crown, where the stems and roots connect, is level with the soil line.
- Refill the holes about two-thirds full.
- Pour water in each hole to eliminate air pockets and settle the soil.
- Replace and tamp the remaining soil around each plant and water well.
Expert gardener’s tip: Spreading a 3-t-4 inch layer of organic mulch over the planting bed suppresses weeds and retains soil moisture.
Ongoing Care
Blackberries need:
Regular Watering
From mid-spring until mid-fall, blackberries typically need between 1 and 2 inches of weekly water. That equates to between 6 and 12 gallons (22.7 and 45.4 liters) per 10 square feet (.92 square meters) of soil.
The goal is to keep the roots moist without becoming wet enough to rot. To accomplish this, water at least twice a week. The preferred method is a drip system, set to water an hour or more each day. Watering overhead exposes the fruit and leaves to fungal diseases.
Water a container-grown blackberry whenever the top 1 inch of growing medium is dry. During hot weather, this could be daily.
Regular Fertilizer
Feed your blackberries with an organic, granular 4-3-4 fertilizer for acid-loving plants. It will:
- Support the soil organisms that help your bushes absorb nutrients.
- Supply trace nutrients, minerals and vitamins.
- Supply plant hormones that stimulate growth and boost pest and disease resistance.
- Help ensure a chemical-free harvest.
How to Apply Fertilizer
Fertilize your plants after the soil thaws in early spring and again in six to eight weeks. Scrape back your mulch and sprinkle the granules evenly over the planting bed. Use 3 cups (.7 liter) for every 10 square feet. Water well and replace the mulch.
Expert gardener’s tip: Want to leave the mulch in place? Double the fertilizer, sprinkle it on top and water it in.
Pruning Blackberries
After they fruit, two- year-old canes die back. Wait until the following spring to prune them. The plants pull nitrogen from the dying canes and store it as fuel for their future growth. And by waiting until spring, you’ll have an easier time telling the old spent canes from the newer fruiting ones.
Pest Management
Blackberry leaves thickening, curling and turning yellow point to an aphid infestation hiding beneath them. The tiny sapsuckers also excrete large patches of gooey honeydew waste.
To suffocate them, spray the leaves until they drip with organic insecticidal soap. Repeat every three days until they’re gone.
Cane Borers
Borers tunnel into blackberry canes and devour them from the inside out. Swollen areas s within 1 foot of the soil line indicate an infested cane.
These galls surface in mid-to late summer, but may stay hidden until the leaves drop in fall. Prune and bury affected canes to destroy the borers still inside.
Disease Management
Systemic orange rust disease is seldom fatal. But once infected, a blackberry’s fruiting days are over. Its canes become spindly, with yellow-orange spores rimming the undersides of the leaves. The rust fungus thrives in cool, humid weather.
Remove and replace infected blackberries with rust-resistant cultivars. Good choices include:
- ‘Choctaw’
- ‘Cherokee’
- ‘Cheyenne’
- ‘Comanche’
Cane Blight
Blackberry canes with large dead areas and withering, wilting leaves are victims of cane blight. It attacks canes with mechanical or insect-related injuries.
Prune below the dead tissue and destroy the pruned sections. Between cuts, rinse your tools in a solution of 1 part household bleach to 10 parts water.
Harvesting
You’ll have blackberries to harvest in your second year after planting. Depending on your cultivars, most crops begin ripening between June and August.
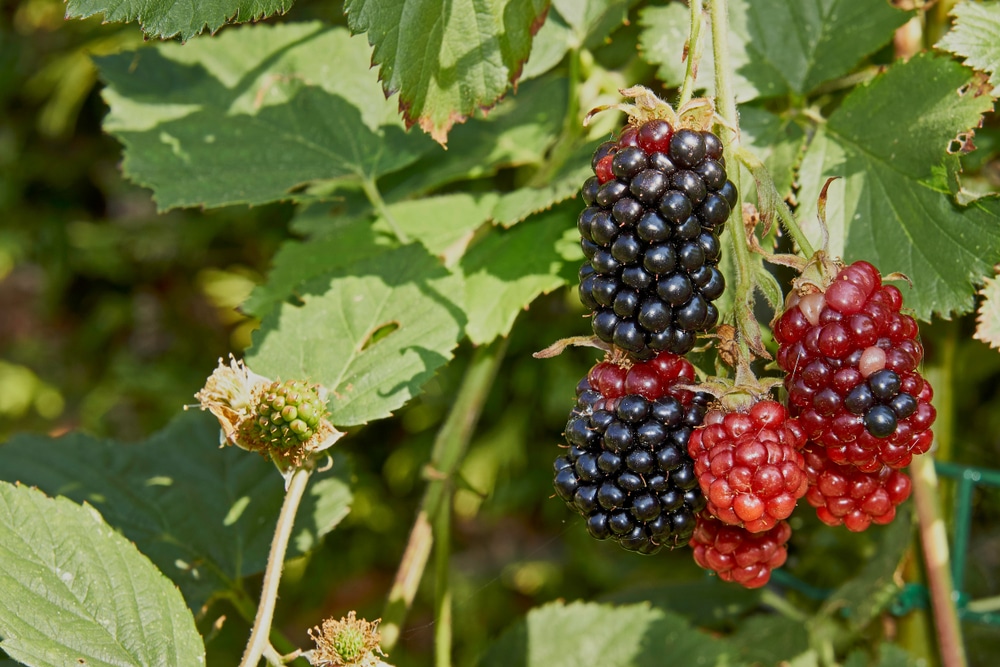
The fruits will start as small red “drupes” where the flowers used to be. Over the next three weeks, they’ll get larger and darker. When they’re completely black but still firm, start picking.
How to Pick
Pick only as many berries as you can use fresh in two or three days or freeze. If your canes are thorny, wear long pants, a long-sleeved shirt and heavy-duty garden gloves.
Grasp a gap in the cane’s foliage with one hand and gently tug a berry with the other. Ripe ones pull free without resisting. Set them carefully in your container, but don’t pack them in or the lower layers will bruise. Pick the berries twice weekly as they continue ripening.
What to Expect
If you choose the right cultivars for your climate and provide them with consistent care, you can expect to enjoy home-grown blackberries for 15 or more years.