Choosing Which Seeds to Save
Cucumbers varieties labeled “Hybrid” or “F1” aren’t guaranteed to produce seeds that pass on all their traits. Unmarked varieties, or ones labeled “Heirloom” or “Open-pollinated,” are more likely to duplicate themselves, but only if you supervise their pollination. If insects pollinate them, the resulting fruit will contain hybridized seeds.
To Start Seed Saving
- Wait until the cuke plant with the seeds you’d like to save is producing female flowers. Swollen bases resembling tiny cucumbers distinguish them from male flowers.
- Cover one female and one male flower bud with pieces of lightweight row covers. Secure the covers with twist ties to keep insects away.
- Tag the branch of the female bud as a reminder that its fruit is the one you’ve selected.
Making a Baby Cuke
To guarantee that the seeds you save produce the cukes you want:
- Wait for the covered buds to open.
- Dust the center of the male bloom with a soft-bristle paintbrush. Like the hairs on a honeybee, the bristles will pick up pollen.
- Uncover the female flower, dab its center with the pollen-laden brush, replace the cover and wait for the fruit to develop.
- Label the baby cuke as your seed producer.
Harvesting the Cuke
Leave the fruit on the plant long enough to mature completely. Its skin will thicken, harden and change from green to yellowish or nearly white. Cut it off with a sharp knife or pruners, being careful not to twist the vine.
Fermenting the Seeds
Cut your cuke in half lengthwise over a bowl and then scoop out the seeds. Discard the flesh, which has become bitter. Add a small amount of warm water, cover the bowl and let the seeds sit for three days. During the fermentation process, good seeds sink and bad ones start to float as their protective coating dissolves.
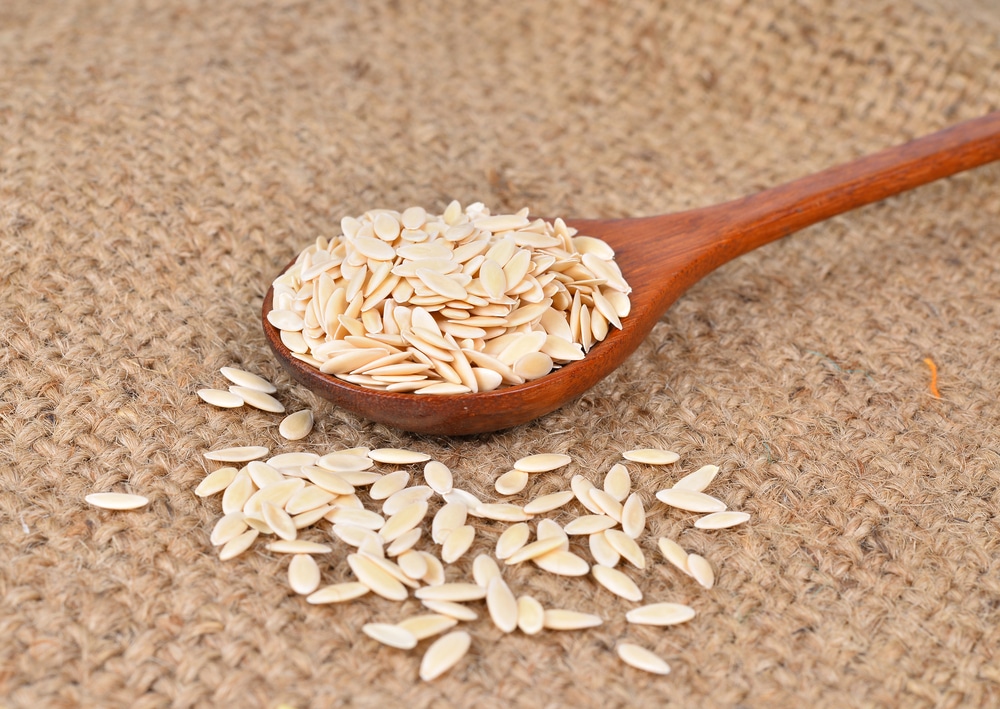
Cleaning and Drying the Seeds
After most of the seeds have sunk to the bottom of the bowl, add fresh water so that all the bad seeds and debris rise to the top. Skim them off and rinse the remaining ones in a strainer three or four times. Spread them on a screen to dry in a warm, airy location. Avoid drying on paper towels that may stick to the seeds.
Storing the Seeds
Place the thoroughly dried seeds in a sealable plastic bag labeled with their name, the date and anything else about them you want to remember. Store the bag in the back of the refrigerator so fluctuating temperatures won’t affect the seeds.