Preparing the Garden for Your Transplants
Successful transplanting begins with a properly prepared cucumber bed. As soon as your soil is workable in spring, take the following steps:
Build Raised Beds
To start growing, cuke transplants need a minimum soil temperature of 65° F (18.3°C). The soil in raised beds angled toward the midday sun heats up more quickly, thanks to improved drainage and sun exposure.

Add Organic Material
As soon as your soil is workable, till in a 2-inch layer of organic fertilizer or compost. The darker material absorbs more heat. It also releases heat while decomposing.
Warm the Soil with Plastic
Cut black plastic yard bags to fit your cucumber beds and secure them to the soil with garden staples. They’ll warm the soil by keeping out moisture and absorbing heat.
Set Up Trellises
If you’re going to use them, this is the time to put up trellises. Doing it after transplanting may damage sensitive roots.
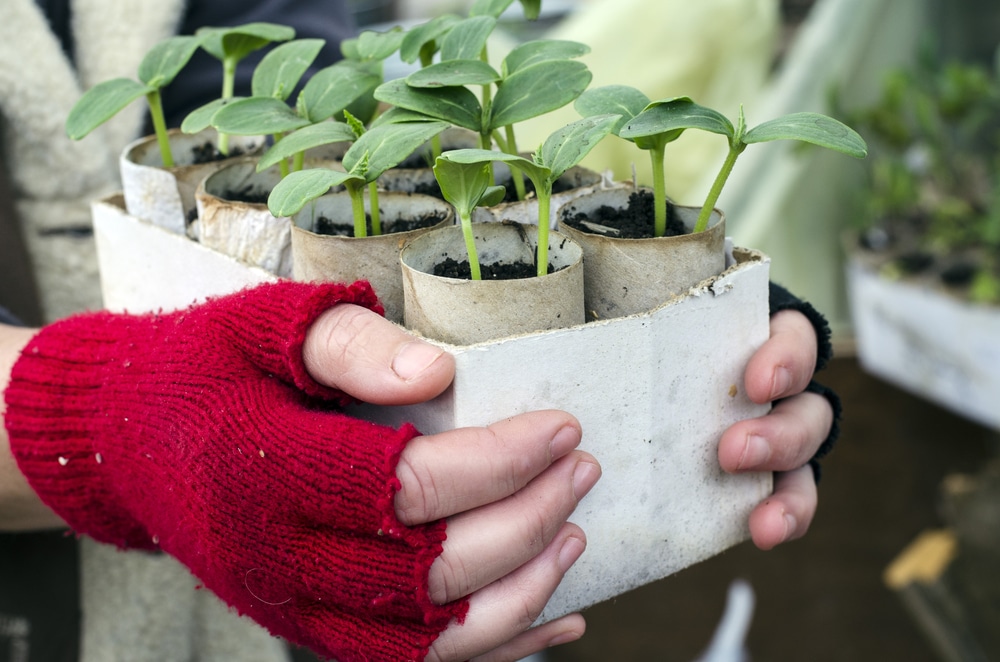
Expert gardener’s tip: To start cukes indoors from seed, use individual, 3-inch peat pots instead of trays. Seedlings don’t grow at the same rate. The individual pots let you transplant your fast developers while the rest play catch-up.
Hardening off Indoor-Started Seedlings
Cucumber seedlings started indoors are large enough for the garden when they have three sets of true leaves. First, however, they need time to adjust to their new environment. To harden them off, follow these steps:
- Wait until the temperature is consistently above 60°F (15.5°C).
- Set the seedlings out for two or three hours on the first day. Place them in indirect sun with shelter from wind and heavy rain.
- Increase their exposure by an hour a day for the next week to 10 days. If the forecast calls for temperatures below 60°F (15.5°C), bring them indoors.
Expert gardener’s tip: While hardening them off, water them just enough to prevent wilting.
Transplanting Your Cuke Seedlings
Dig holes slightly larger than your seedlings’ pots. Soak the pots to soften the peat. The drain them and trim their top edges down to the growing medium. Gently peel away their bottoms to expose the bases of the root balls. Then center them in their holes and cover them with soil.

Choosing Started Cukes
When purchasing started cukes to transplant, avoid those with:
- Thin, floppy and elongated stems — they’ve haven’t been getting enough light.
- Knotted or pot-circling roots.
- Flowers or fruit. Transplants should put all their energy into establishing new roots.
Transplanting Your Starts
Follow the process for transplanting seedlings, with two general exceptions:
- Started plants usually don’t need hardening off. To make sure yours won’t, purchase ones that are exposed to full sun, rain and wind. Garden stores often display their starts on tiered shelves, with the lower shelves completely blocked from the sun (and frequently from the watering hose).
- Some starts come in peat pots with cellophane labels. Remove the labels with scissors; otherwise, they’ll keep the roots from penetrating the peat.
Care Following Transplanting
When all your cukes are in the ground, lightly tamp the soil arouond them and water well. Keep the soil moist until you see new growth. Mulch the bed with 2 inches of straw to discourage ground-dwelling slugs and cucumber beetle larvae. As soon as their tendrils are long enough, twine them carefully around your trellises and you’re done!