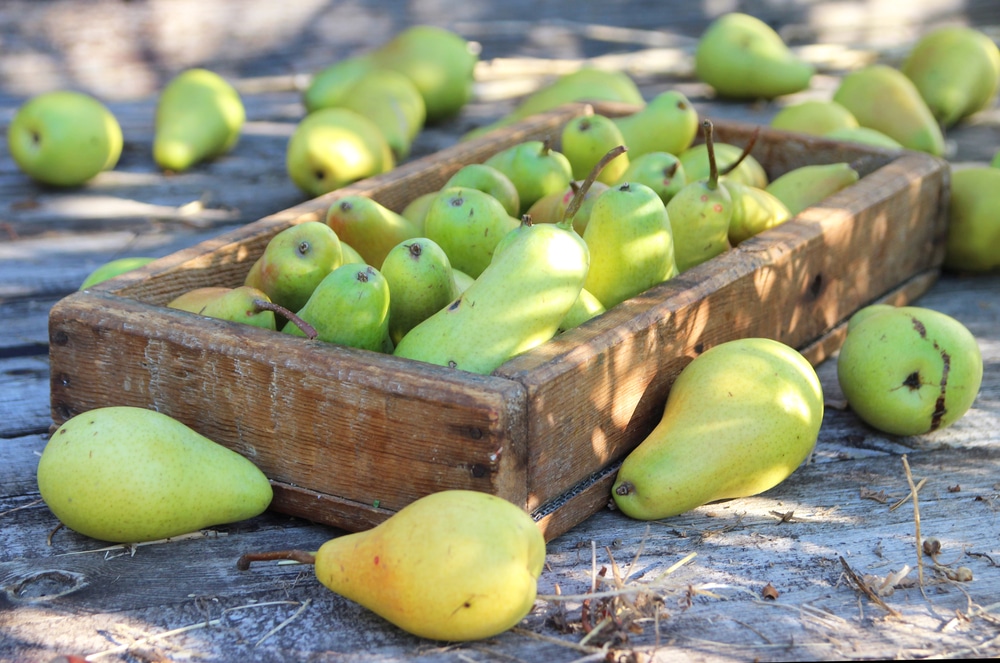
Harvesting Pears
Many fruits are known for ripening off the tree. This quality gives commercial growers time to ship product long distance. Most of the time, these fruits lose flavor and texture quality compared to fruits ripened on the plant. Pears are different. If allowed to ripen on the tree, the quality of the fruit diminishes.
Pears ripen from the inside out. By the time we notice that the fruit is ripe on the outside, the middle will be mush. For this reason, it’s best to harvest pears when they are mature but not yet ripe.
A mature pear has reached full size on the tree. It still feels hard to the touch and will not taste very good yet. To tell when a pear is ready to pick, orchardists use the ’tilt-test.’
Tilt Test
The tilt test works because the tree does send signals that the fruit is mature or done growing. Take a vertically hanging fruit in one hand and tilt the fruit into a horizontal position.
A mature pear will detach with ease when tilted. If it hangs on, it may need some more time on the tree. The Bosc variety of pear is an exception to this rule. They are known for being difficult to detach.
Cold Storage
All pears at the grocery stores go into cold storage before reaching the shelves. It isn’t just about preserving the product. Many varieties of pear will only ripen after cold storage. Home gardeners that try to ripen winter pears on their counter without storing them first may not get what they bargained for in taste quality. They will rot without ever ripening.

Winter pears require two to six weeks of cold storage to ripen. It’s like simulating a winter season, which sends signals to the fruit to mature, rot, and let the seed out. Some winter pears varieties include:
- Bosc: Harvest in September. Russet looking skin. Good for cooking.
- Anjou (red and green): Harvest in late September. Good fresh eating fruit.
- Concorde: Harvest in early October. Very sweet pear ripens quickly after storage.
- Comice: Harvest in October. Large fruit good for eating and cooking.
Store winter pears in the refrigerator at 30°F (1°C). As close to freezing without freezing them. At this temperature, they will store for up to 10 months depending on the variety. They will only ripen once taken out of cold storage.
Summer pears only need a day or two of cold storage. They also will not store through the winter season, which is why they’re called summer pears. They must be eaten or preserved within weeks of harvest. Summer pears include:
- Bartlett: Harvest in August – worlds most popular pear – very productive tree.
- Starkrimson: Harvest in August – beautiful sweet fruit that changes color as it ripens – floral flavors abound – very juicy if allowed to fully ripen.
- Tosca: Harvest in August – green fruit with a white creamy flesh – crisp bite with exotic flavors.
Ripening Pears
Whether you purchase them at the store or pick them yourself and store them in the fridge, pears still must be ripened. Each variety will take a slightly different amount of time. In general, pears take 5-10 days on the counter to ripen. A temperature range of between 65-75°F (18-25°C) is ideal for ripening, which is what most houses are at already.
Bartletts and Concords are known for taking less time to ripen. They could be ready in as little as three to five days. An Anjou or Starkrimson can take up to ten days. Bosc and Comice pears will fall somewhere in between.
Check the pears daily to avoid missing the narrow window of ripeness. A ripe pear will smell sweet but still tart and floral. It gives under pressure if pressed gently at the neck around the stem. It will cut like butter but still be firm and smooth when eaten.
Overripe pears are mealy and too soft. They smell sweet but without hints of tartness or floral notes. They taste sweet but also lack those characteristics in flavor.
Tips and Tricks
You can speed up the ripening process on the counter by days. Sometimes this can result in a loss of flavor and texture quality, so only try it if you need ripe pears fast.

Put pears into a paper bag and fold the opening shut. This traps gasses released by the ripening fruits and speeds the process up by a whole day or two. Adding a banana or apple into the bag will speed it up even further. These fruits release even more ethylene gas which is responsible for hastening the ripening process.
Avoid wasting fruit by keeping winter pears in the fridge and only pulling enough out for the following week. Since they can store for months, nothing in lost by leaving them in cold storage.
What to do with overripe pears?
It can be a hassle to deal with a lot of fruit all at once. When the summer pear harvest comes in, orchardists and canners get their kitchens ready to handle quantity. What can you do with a lot of pears at once to keep them from spoiling?
Several great methods of preserving pears have been handed down for centuries. They react well to just about any preservation technique.
Freezing
You can freeze pears dry or packed in syrup. Syrup-packed pears are great for using as a pie filling, cobbler, or dessert topping.
Peel pears and cut them into halves, quarters, or slices depending on preference. Take out the cores. For dry-pack pears, put slices in a bag with some ascorbic acid or lemon juice and shake them around to coat them. The acid will prevent browning as they freeze. Then they can go into containers and go straight into the freezer.
For syrup-packed pears prepare a syrup by mixing water with sugar. A light syrup could be 1/2 cup sugar per quart. For a heavy syrup mix two cups of sugar per three cups of water for a 40% solution. Bring this to a boil and add the pears. Allow to simmer for one to two minutes and then remove from heat. Drain them and let them cool before freezing.
Canning
Canning requires a few more supplies but is as simple as freezing. Sanitize all jars, lids, and tools prior to use. Prepare the pears the same way by peeling, coring, and slicing them into any shape you want.
You will again be making a sugar syrup. Sugar is a natural preserving agent that will keep toxic bacteria out. It is necessary for safety. Do not can pears in water.
- Light Syrup: 2 cups sugar to 6 cups water
- Medium Syrup: 3 cups sugar to 6 cups water
- Heavy Syrup: 4 cups sugar to 6 cups water
Add spices to the syrup. Cinnamon, clove, and ginger are some popular flavors. Heat the syrup and let the sugar dissolve. When it comes to a boil add the pear slices. Allow the mixture to cook for five minutes.
Use a slotted spoon to fill each jar with pears. Pour the hot syrup liquid over them until all the fruit is covered and the jar is full to where it narrows. Place sanitized lids on the jars and screw them into place.
Bring a large pot of water on the stove to a rolling boil. This is for a water bath that will seal the jars. This pot needs to be large enough to fit several jars at a time and deep enough to submerge them under boiling water. Leave jars in the water bath for 20 minutes. Discard jars that are not sealed once cooled to room temperature.
Drying Pears
If you don’t have room to store a lot of pears or jars, drying them is a great way to preserve a harvest. Pears are so sweet they dry into candy-like morsels.
Peel, core, and slice pears into 1/2 inch thick slices. To prevent browning, spray or spritz them with some lemon juice or water mixed with citric acid.
Lay them in a single layer onto a dehydrator rack and dehydrate them at 135 ºF (57 ºC) for up to eight hours or until the fruit is leathery.