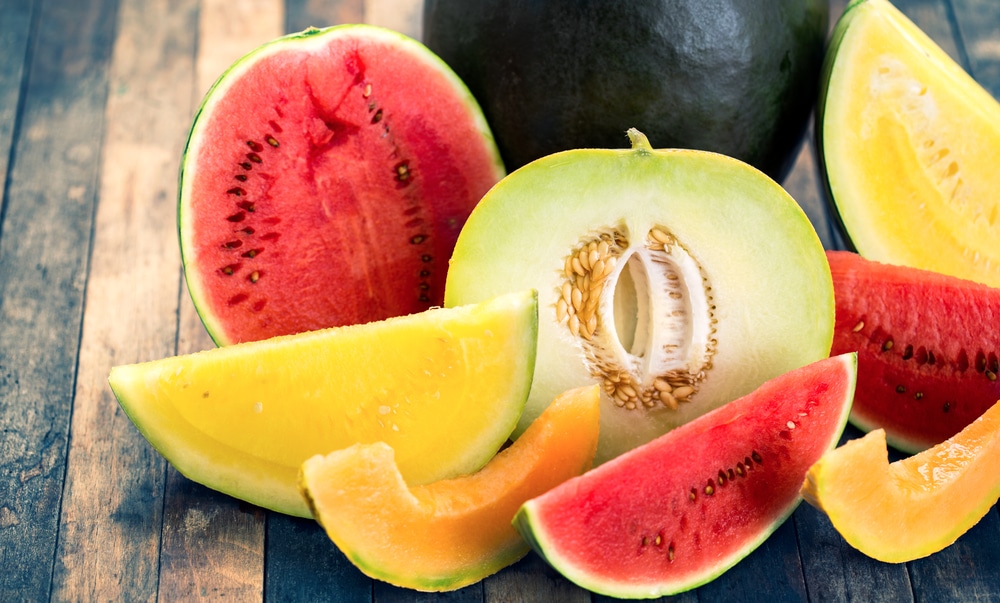
Popular Melon Varieties
In North America, the most popular types of melons are watermelon, muskmelon and honeydew types. Although you’ll find melons listed as “cantaloupe” in U.S. stores, these aren’t true cantaloupes and are really muskmelons. True cantaloupes aren’t grown commercially in the U.S., but are common throughout Europe. Compared to what the U.S. calls a cantaloupe, true cantaloupes are warty without netting and medium-sized.
Some popular cultivars of these melon types include:
- Watermelon: ‘Crimson Sweet,’ ‘Black Diamond,’ ‘Sugar Baby,’ ‘Charleston Gray’
- Muskmelon: ‘Ambrosia,’ ‘Hale’s Best,’ ‘Mission,’ ‘Caravelle’
- Honeydew: ‘Honey Girl,’ ‘Sweet Delight,’ ‘TAM Dew’
Expert Tip: Watermelons require more heat and a longer growing season than muskmelons and honeydews.
Preferred Climate & Soil Temperature
For melon crops to thrive and produce flowers and fruit, it’s important their cultural needs are met. All types of heat-loving melons thrive when temperatures range between 70°F to 80°F (21°C to 27°C). Therefore, it’s important to wait until the soil temperature reaches 60°F (15.5°C) before transplanting or planting seeds. Otherwise, the seeds may fail to germinate and the transplants may die.
If you want to get a jump start on growing your melons, you can:
- Start your melon seeds indoors several weeks before planting in the garden. Melons don’t transplant well, so be sure to start your seeds in peat pots that you can plant directly into the ground. Harden the seedlings off a week before transplanting.
- Use black plastic mulch to help warm the soil. Install the plastic covering over the garden area in late winter so it can begin warming the soil. The covering also cuts down on unwanted weeds and grasses in the area where you’ll plant the melons.
Expert Tip: Sandy, loose soil warms quicker in spring than more compacted soils like clay.
Site Considerations
When selecting a location to create and plant your melon garden, consider that melons grow on large vining plants that require space to spread. However, those that lack garden space can grow more compact melon cultivars in large containers. Just make sure the container drains or the plants can rot.
You can allow the vines to grow vertically up a trellis or arbor, and protect the developing fruit by suspending them in a flexible holder like pantyhose. Use at least a 5-gallon container with bottom drain holes and attach the developing vines to an arbor or trellis structure. Dwarf varieties of melons work best with this type of system.
Cultural Needs
All types of melons thrive when their cultural requirements are met, which includes:
- A location situated in full sun for the majority of the day.
- Loose, fertile soil that drains well.
Soil & Planting Preparation
It’s best to prepare the garden area for growing your melons in late winter or early spring. All types of melons grow better in loose soil that is fertile. Apply a 10-inch layer of well-aged compost or manure over the garden and work down into the soil about eight to 10 inches.
Next, create the mounds where you will plant your melon transplants or seeds.
- Create ridges or hills that are 8 to 12 inches tall and 12 to 14 inches wide.
- Space the rows or ridges about 6 feet apart, if growing honeydew or muskmelons. For watermelons, space the rows or ridges about 10 feet apart.
- If planting in hills, space the hills about 2 feet apart for honeydew and muskmelons. For watermelons, space each hill about 4 feet apart.
Planting
Thoroughly water the soil before planting. If planting seeds, plant six seeds evenly spaced per hill. Bury the seeds about 1 inch deep and once germinated, thin to the two strongest seedlings. For transplants, plant one to two peat pots per hill. Bury the melon seedling transplant at the same depth it’s already growing in the peat pot. After planting, water the garden area again.
Expert Tip: Depending on the variety of melon, it can take anywhere from six days to almost three weeks for the seeds to germinate.
Continued Care
All types of melons have deep roots and require consistent moisture, especially during their early stages of growth and the flowering and fruiting stage. They require at least 2 inches of water weekly. To prevent disease problems, water in the morning and don’t allow the foliage to become wet. Drip irrigation works well for melons.
Fertilize the melon plants every three weeks using an organic blend like a 5-5-5. Spread evenly along the sides of the melon plants and water in well. Side dress the plants with several inches of well-aged compost monthly.
Expert Tip: Due to disease problems, rotate melon crops to a different site every three to four years.